Send newsletter.Email one line at a time from Excel book.(Power Automate Cloud flows)
The following is a sample that reads a book containing one line each of the following destination e-mail addresses and sends e-mail one line at a time.
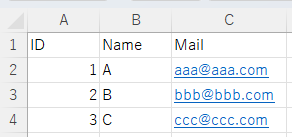
By adding columns, you can specify various items such as CC, BCC, etc.
Steps
Save workbooks to OneDrive or SharePoint.
When working with Excel in Cloudflow, you need to save files to OneDrive or SharePoint.
Table settings for cell ranges.
Cell ranges to be manipulated in CloudFlow must be table settings.

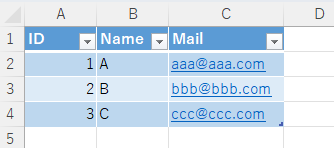
Select the target cell range and "Table Design" will appear in the menu.
Click on it and "Table Name" will appear.
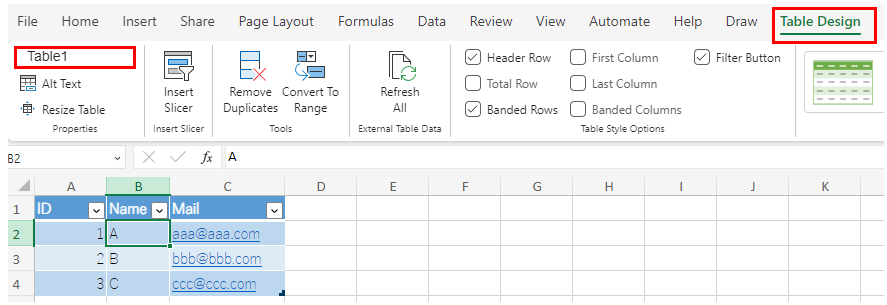
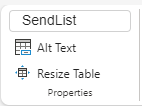
This "Table Name" must be remembered.
You may change the "Table Name".
Create Flow
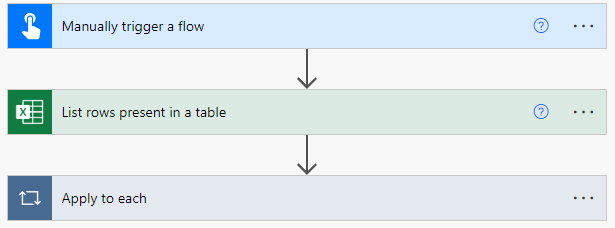
Create a flow with any trigger.
Use "Instant Cloud Flow" to send emails at any timing.
Use "Scheduled Flow" if you want to specify a recurring or send timing.
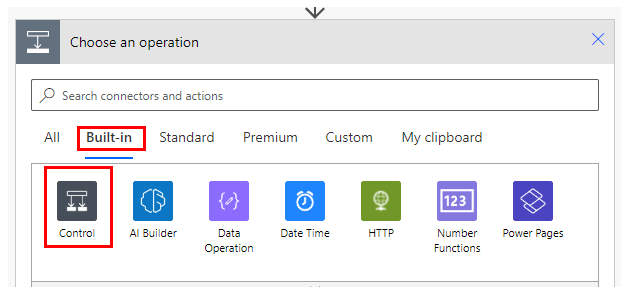
After creating a Flow, first set up the Action.
The action to be set up is "List rows present in a table" in "Excel Online (Business)".

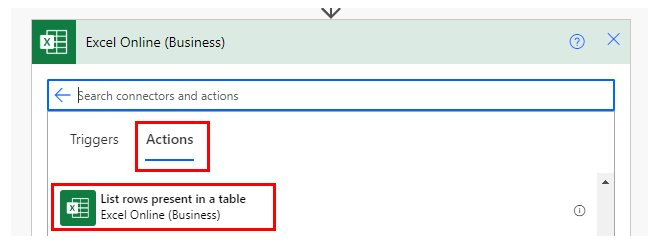
Set Parameters.
The "Location" will list OneDrive for Business and the SharePoint groups to which you have access.
Select the location of the target Excel from among them.

The "Document Library" is also selective, but there is essentially only one choice.


For "File", click on the folder icon on the right to select it.

"Table" displays a list of tables in "File".
Select the table of interest from the list.

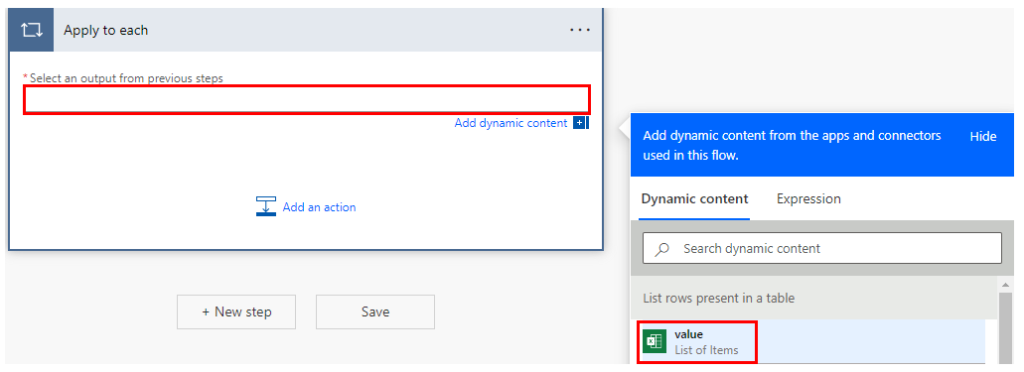
Next, set up "Apply to each" in "Control".
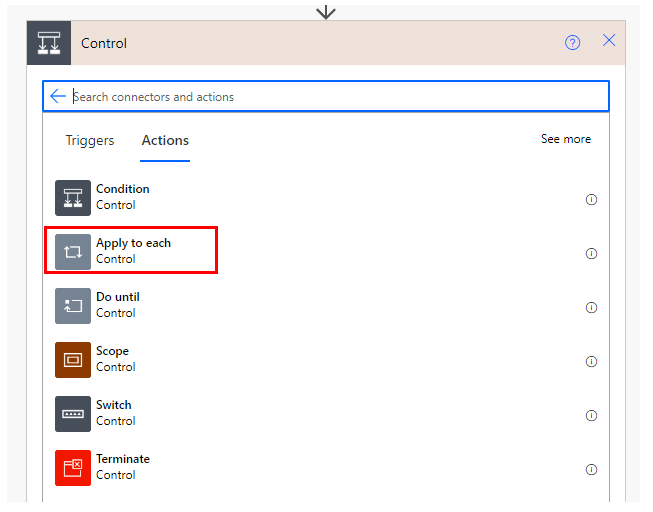
Specify a dynamic content "value" for "Select an output from previous steps".

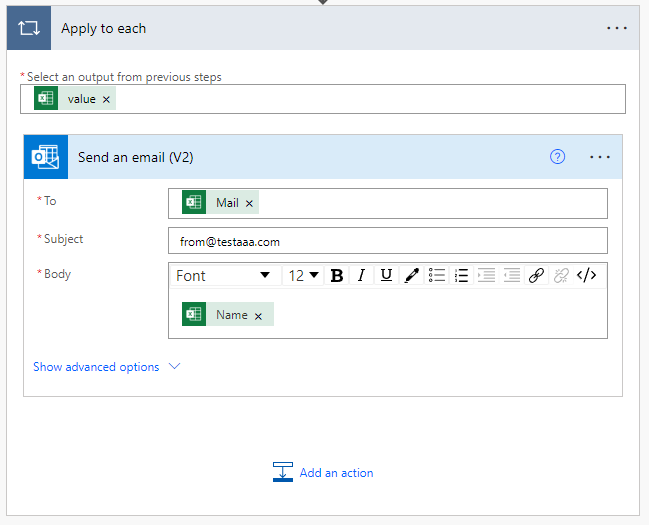
Then, set up an action to send an email in "Apply to each".
- Send email(Gmail)
- Send an email(Office365 Outlook)
- Send an email notification(Mail)
- Send email(SMTP)
Set the dynamic content and email content for the set up action.
When this flow is executed, an email is sent to the recipients of all rows of the Excel book.
---