Excel. Basic data read and write.(Power Automate Cloud flows)
Here are some basic data reading and writing methods in Excel.
Steps
Preparation
Save the target file to OneDrive or SharePoint.
To work with Excel in Cloudflow, you need to save your files on Microsoft's cloud, such as OneDrive or SharePoint.
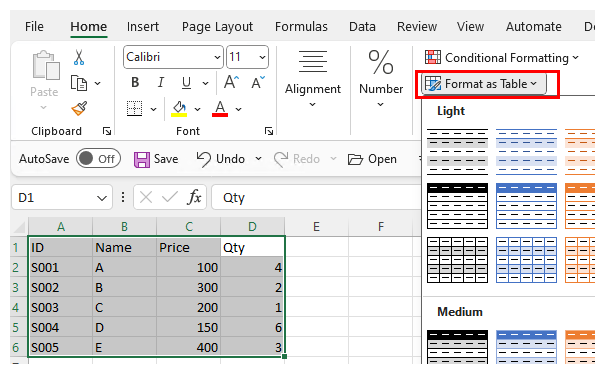
Table conversion of the target cell range.
The target of the operation must be made into a Table.
Excel operations in Cloudflow take the form of inserting, updating, and deleting records (rows) in a Table.
To do this, select a range of cells to be manipulated and "Format as Table".
The first line of the cell range will be the item name as the heading line.
The range should contain items that uniquely identify the rows, such as item numbers, for easier handling.
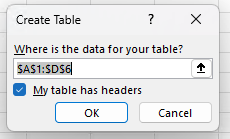
With "My table has headers" checked, Click the "OK" button.
The appearance of the cell range changes.

Select a table cell and "Table Design" will appear in the menu.
Click "Table Design" to display the table name.
The table name is initially "TableN(sequential number)".
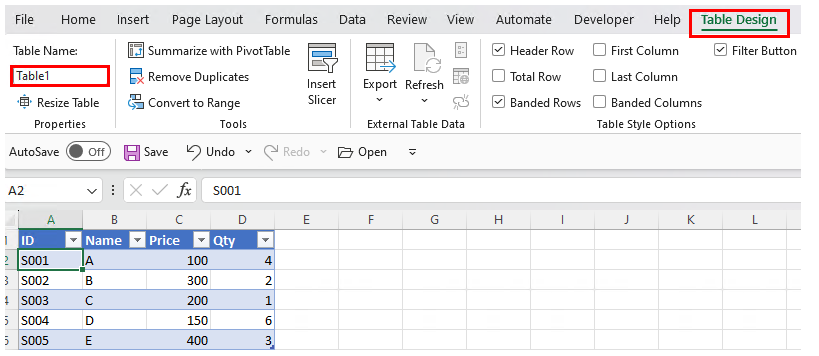
You must remember the name of this table.
It can also be changed to any name.
Conversion to this table is required for both updating and retrieving data.
Action set up.
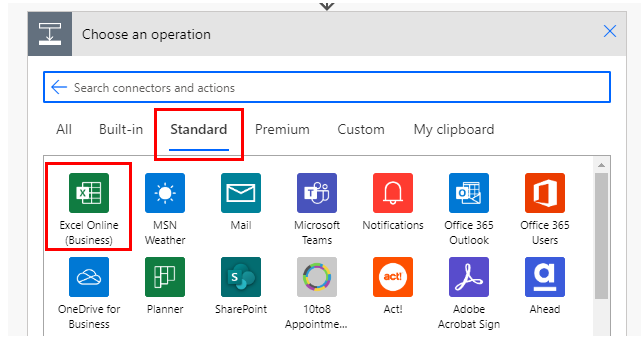
On the Power Automate flow creation screen, add a step, select "Excel Online (Business)" from "Standard" and choose an action.
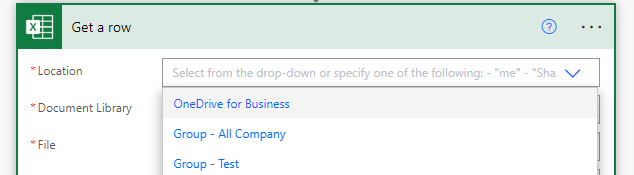
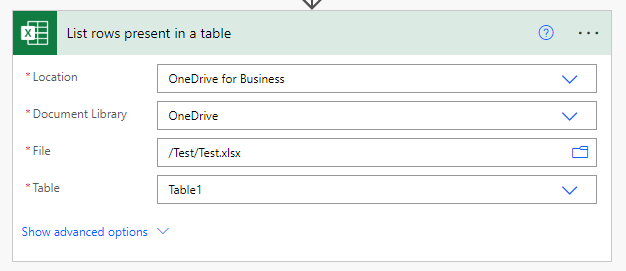
Specify "Location", "Document Library", "File," and "Table".
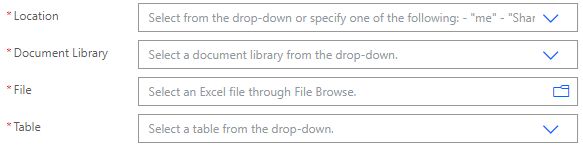
The "Location" will list "OneDrive for Business" and the SharePoint groups to which you have access, so select the location of the target Excel file among them.
The "Document Library" is also selective, but there is essentially only one option.


The "File" is selected by clicking on the folder icon on the right.
It looks like a file path, but it is only an appearance; the content is a unique file ID.
No keystrokes are allowed.

A list of tables in "File" will be displayed.
Select the table to be operated on.

Read
Use the "Get a Row" action to retrieve data.

Only one row is retrieved.
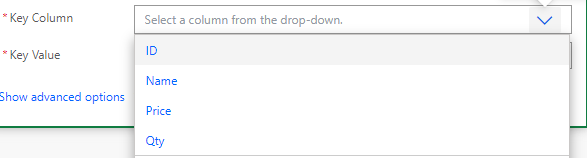
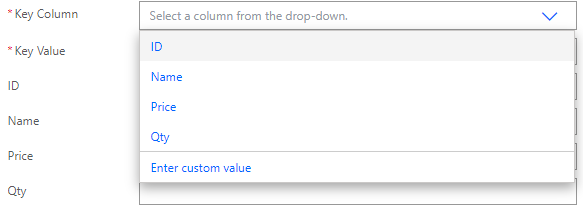
When a file is specified, all items contained in the table are displayed in the "Key Column".
Specify the items to be used for the search from among these.
Specify the value to be searched for in "Key Value".
You will often specify a variable here.

Dynamic Content" will be added after "Get Row."
This contains the data read from Excel.
All rows is retrieved.
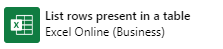
The "List rows present in a table" action is also used.
First, set up "List rows present in a table" and specify the target table.
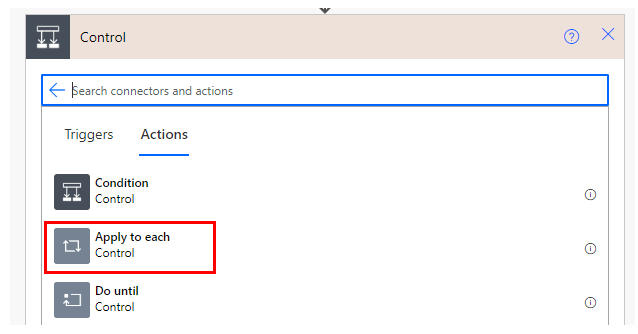
Next, set up "Apply to each".
Specify a dynamic content "value" for "Select an output from previous steps".
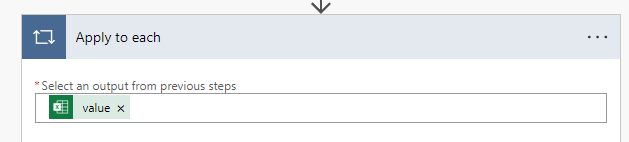
Table items are available as dynamic content in "Apply to each".
If no filter condition is specified, all rows of the table are repeated.
Insert Row
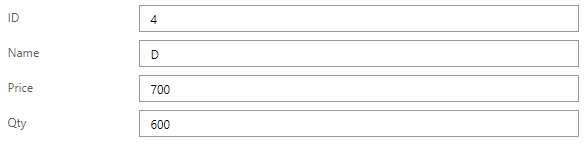
To add a new row, use the "Add a row into a table" action.
Specify the value of the new row, as specifying up to the target table will add a table entry.
A row is added to the end of the table.
Update
To change the contents of an already existing row, use the "Update a row" action.

When a table is specified, all items contained in the table are displayed in the "Key column".
Specify the item to be used to search for the row to be updated from among these.
Specify the value to be searched for in "Key Value".
You will often specify a variable here.

Items that exist after the table is specified are added.
Specify the value after the update here.
If you do not specify anything for the item, the value will not change.It will not be blank.

Delete value
If you specify blanks in the columns, the values remain unchanged.
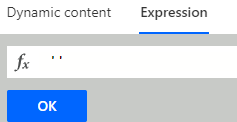
If you want to delete a column, specify the blank string " in the expression.
---