For a selected row in Excel Connector(Power Automate Cloud flows)
Trigger to be activated by specifying a row in an Excel table.
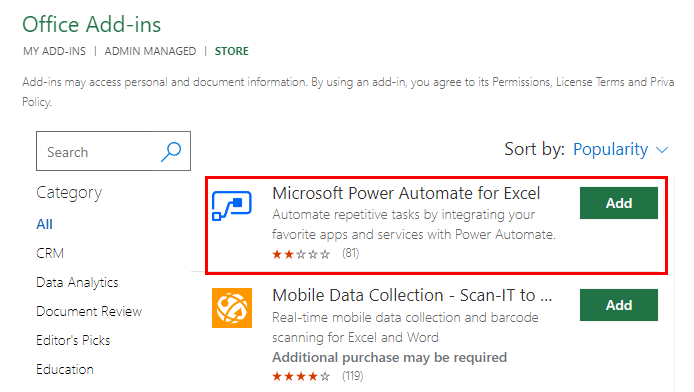
Install Add-in
From the Excel menu, select "Home" and then "Add-Ins".
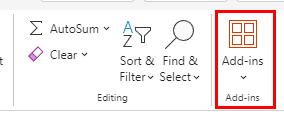
Install "Microsoft Power Automate for Excel".
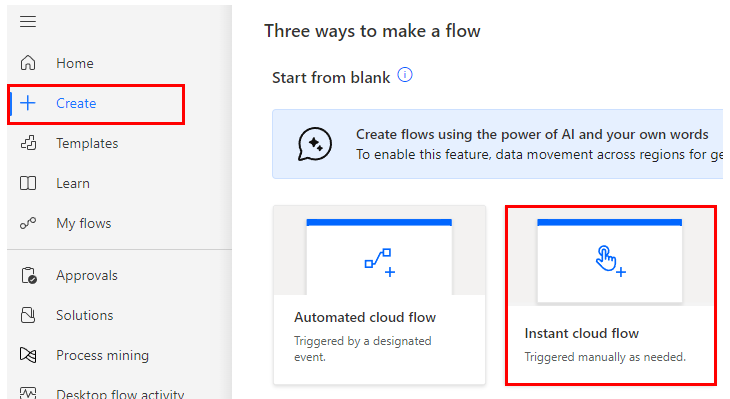
Create Flow
Click on "Create" then "Instant cloud flow".
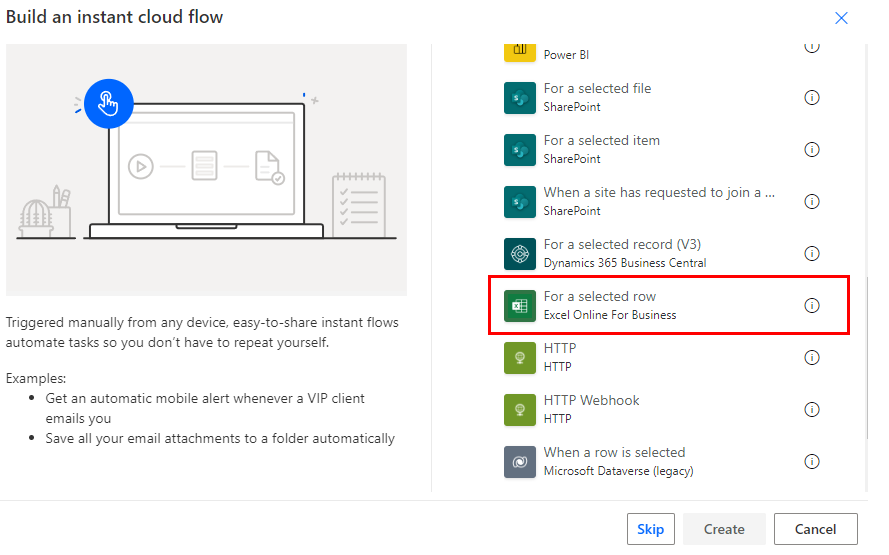
Specify any name for "Flow name" and select "For a selected row".
When both are specified, "Create" will change color and click on it.
Set parameters.
Specify the Excel table for the flow.
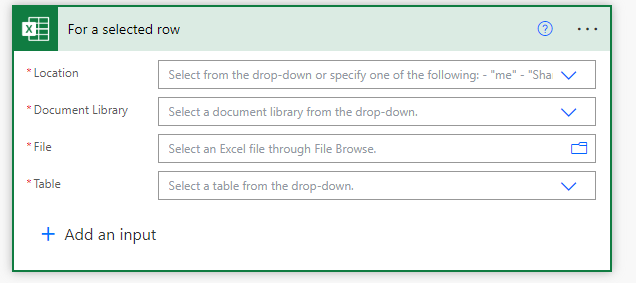
Parameters
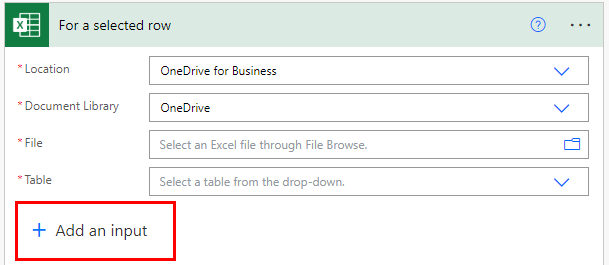
Location
A list of OneDrive and SharePoints that can be connected will be displayed.
From among them, select the file with the table to launch the flow.
Document Library
For OneDrive, select "OneDrive"; for SharePoint, select "Document".
File
Select a file with the picker on the right directory icon.
It looks like a file path, but it is only a display and the content is an ID.
If you delete the specified file and then create a file with the same name, it will be treated as a different file. (Reassignment is required.)
Table
A list of tables that exist in "File" will be displayed.
Select the table from which you want to start the flow.
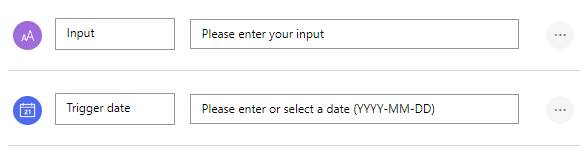
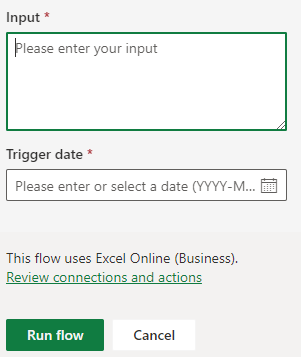
Input
Select "Add an input" to receive parameters from Excel when starting a flow.
Select the input format.

The left column is the name of the input value. It will be stored as dynamic content in subsequent steps.
The right column is the description of the input field.
Launch Flow
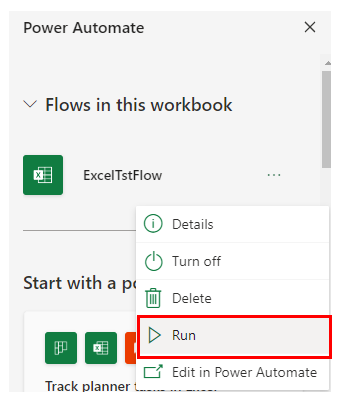
Specify a cell in the table specified in the "Table" option, Select "Automate Work" from the "Automate" menu.
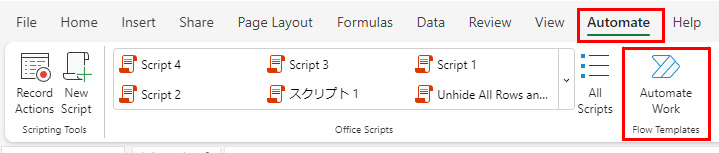
A list of executable flows will be displayed, and click "Run" for the flow you wish to execute.
Select "Run Flow" with parameters to start the flow.
---