Excel Filter.(Power Automate Desktop)
This section shows how to perform filter operations in Excel.
Currently, there is no action to perform filter operations in Excel, so it is necessary to use UI operations or other means to achieve this.
Create filter
Overall flow

Robin(for copy and paste)
It can be copied and pasted into Power Automate Desktop.
UI settings are omitted.
Excel.LaunchExcel.LaunchAndOpenUnderExistingProcess Path: $'''C:\\Test\\Test.xlsx''' Visible: True ReadOnly: False Instance=> ExcelInstance
Excel.SetActiveWorksheet.ActivateWorksheetByName Instance: ExcelInstance Name: $'''Sheet1'''
Excel.SelectCellsFromExcel.SelectCells Instance: ExcelInstance StartColumn: 1 StartRow: 1 EndColumn: 3 EndRow: 6
UIAutomation.Click Element: `` ClickType: UIAutomation.ClickType.LeftClick MousePositionRelativeToElement: UIAutomation.RectangleEdgePoint.MiddleCenter OffsetX: 0 OffsetY: 0
UIAutomation.Click Element: `` ClickType: UIAutomation.ClickType.LeftClick MousePositionRelativeToElement: UIAutomation.RectangleEdgePoint.MiddleCenter OffsetX: 0 OffsetY: 0
Steps
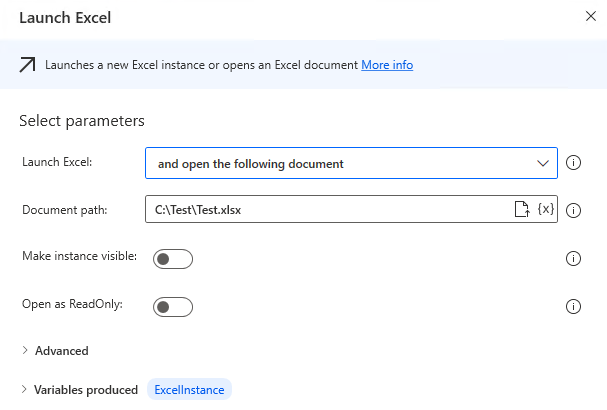
Put "Launch Excel" in place and open the target file.
| Parameter | Value |
|---|---|
| Launch Excel | and open the following document |
| Document path | Target file |
| Open as ReadOnly | OFF |
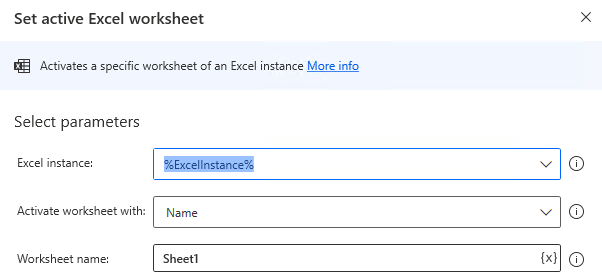
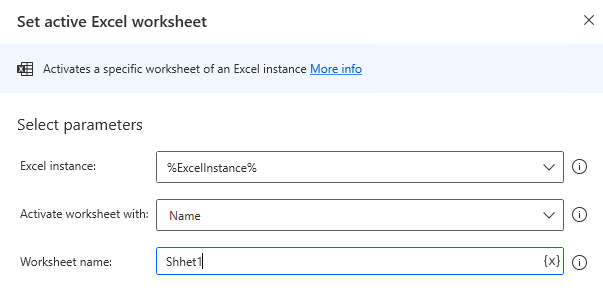
Put in place "Set active Excel worksheet" and specify the worksheet to which you want to add the filter.
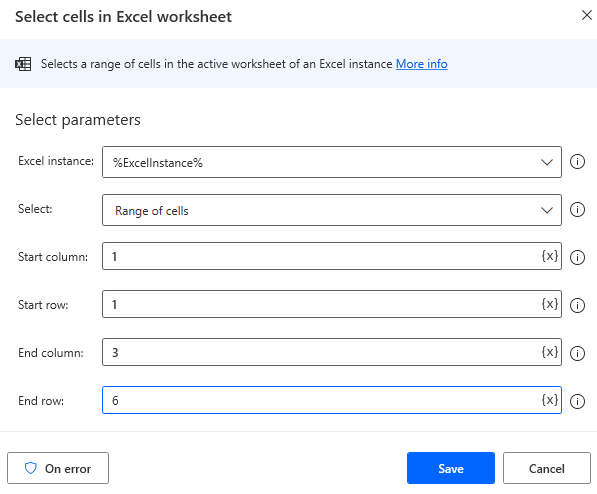
Put in place "Select cells in Excel worksheet".
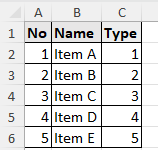
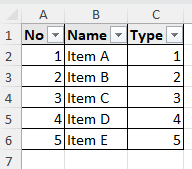
Specify the range of filter settings.
In the example, specify the range from A1 to C6.
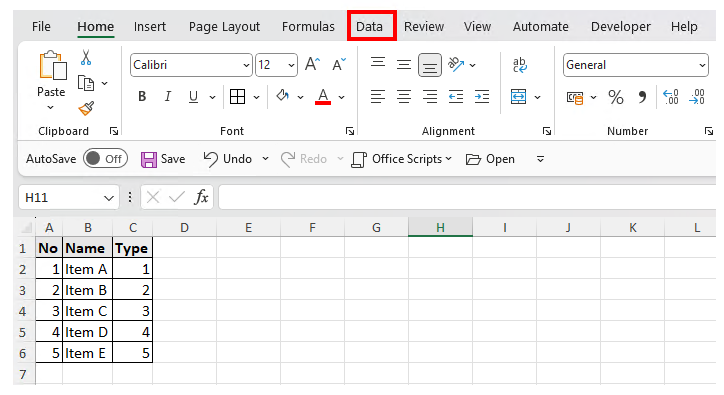
Put in place "Click UI element in window".
Click on "Data" from the menu for the settings.
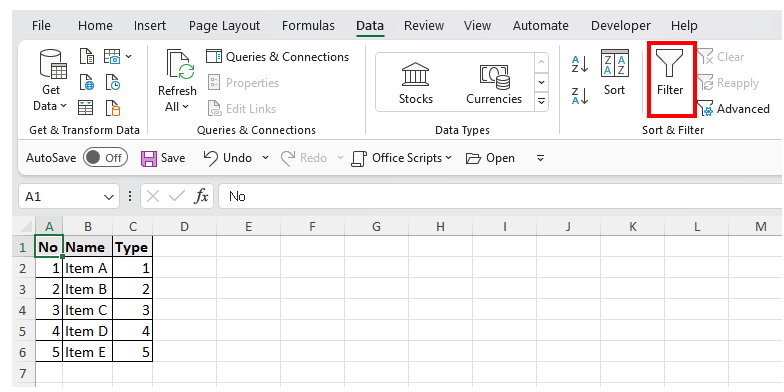
Put in place "Click UI element in window".
Set up to click on "Filter".
When this flow is run, a filter is set for the specified range.
Set condition
Overall flow
Robin(for copy and paste)
It can be copied and pasted into Power Automate Desktop.
UI settings are omitted.
Excel.LaunchExcel.LaunchAndOpenUnderExistingProcess Path: $'''C:\\Test\\Test.xlsx''' Visible: True ReadOnly: False Instance=> ExcelInstance
Excel.SetActiveWorksheet.ActivateWorksheetByName Instance: ExcelInstance Name: $'''Sheet1'''
Excel.SelectCellsFromExcel.SelectCells Instance: ExcelInstance StartColumn: 1 StartRow: 1 EndColumn: 3 EndRow: 6
UIAutomation.Click Element: `` ClickType: UIAutomation.ClickType.LeftClick MousePositionRelativeToElement: UIAutomation.RectangleEdgePoint.MiddleCenter OffsetX: 0 OffsetY: 0
UIAutomation.Click Element: `` ClickType: UIAutomation.ClickType.LeftClick MousePositionRelativeToElement: UIAutomation.RectangleEdgePoint.MiddleCenter OffsetX: 0 OffsetY: 0
UIAutomation.Click Element: `` ClickType: UIAutomation.ClickType.LeftClick MousePositionRelativeToElement: UIAutomation.RectangleEdgePoint.MiddleCenter OffsetX: 0 OffsetY: 0
UIAutomation.PopulateTextField TextField: `` Text: `` Mode: UIAutomation.PopulateTextMode.Replace ClickType: UIAutomation.PopulateMouseClickType.SingleClick
UIAutomation.PressButton Button: ``
Steps
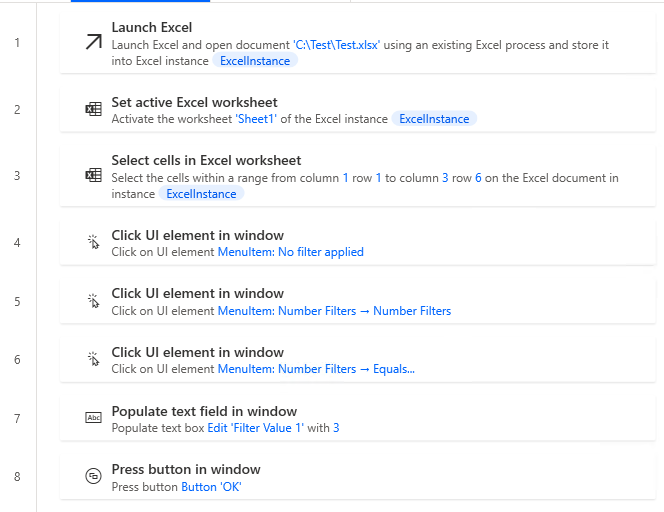
Put "Launch Excel" in place and open the target file.
| Parameter | Value |
|---|---|
| Launch Excel | and open the following document |
| Document path | Target file |
| Open as ReadOnly | OFF |
Put in place "Set active Excel worksheet" and specify the worksheet to which you want to add the filter.
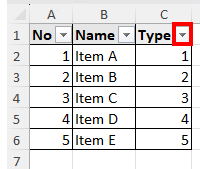
Put in place "Click UI element in window".
Select the filter for the target column.
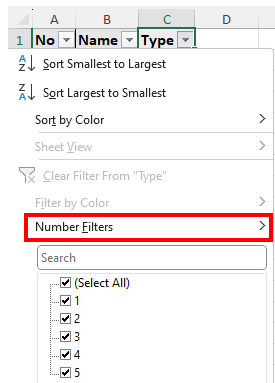
Put in place "Click UI element in window".
Select the filter you want to use.
Put in place "Click UI element in window".
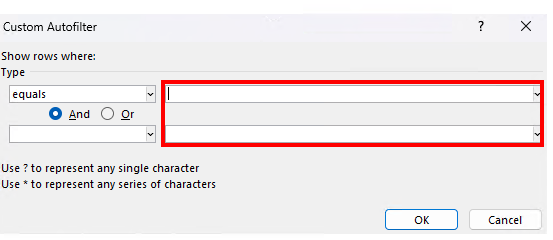
Click on the type of condition.
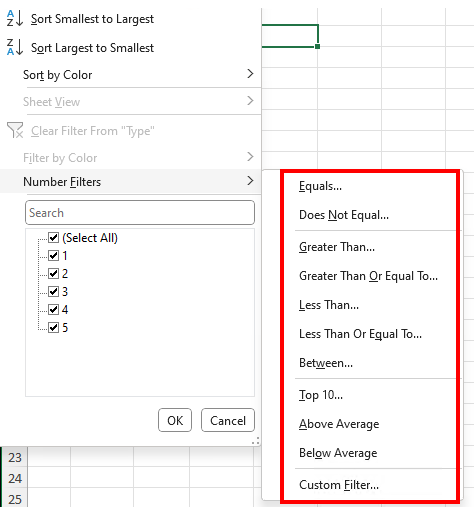
Put in place "Populate text field in window".
Set the value to be used as the condition.
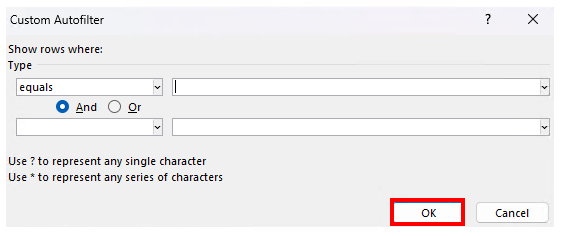
Put in place "Press button in window".
Press the OK button.
The filter is run when this flow is executed.
For those who want to learn Power Automate Desktop effectively
The information on this site is now available in an easy-to-read e-book format.
Or Kindle Unlimited (unlimited reading).

You willl discover how to about basic operations.
By the end of this book, you will be equipped with the knowledge you need to use Power Automate Desktop to streamline your workflow.