Select cells in Excel worksheet Action(Power Automate Desktop)
The "Select cells in Excel Worksheet" Action is used to activate (select) specific cell range on an Excel worksheet in Power Automate Desktop.
This action allows you to specify the cells you wish to activate. You may use this action to determine the active cell in an Excel file before performing any processing with a macro or Power Automate Desktop on the active cell.
Note that Excel must be installed with Power Automate Desktop in order to use this action.
How to use
First, specify the target Excel file in Launch Excel Action or Attach to Running Excel Action and drag Select cells in Excel worksheet Action from Excel to the Workspace.
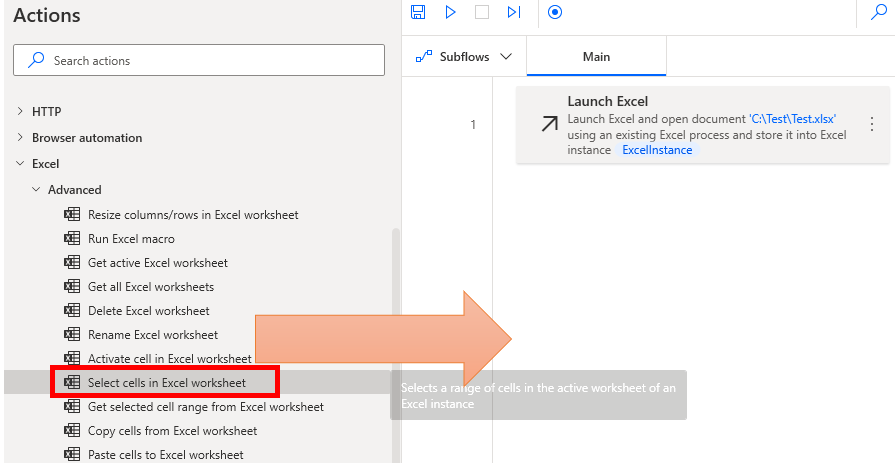
Set parameters.
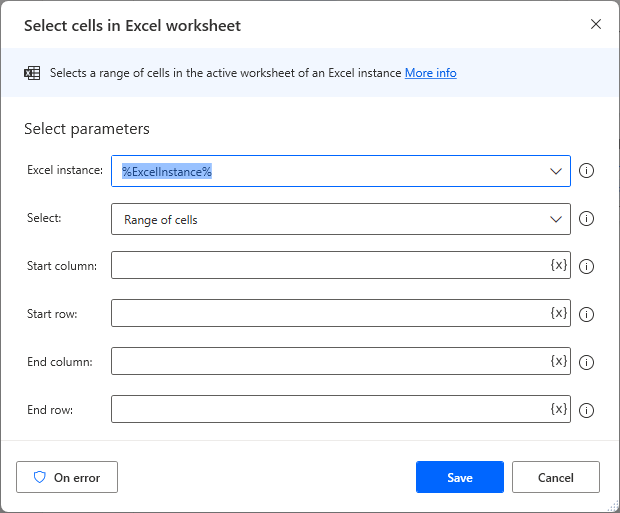
Parameters
Excel instance
Specify the target Excel file.
Specify the Variables produced for the Launch Excel Action or the Attach to running Excel Action.

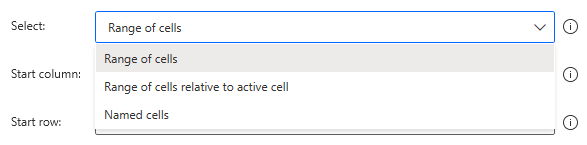
Select
Specify the position of the cell range to be activated.
- Range of cells
- Range of cells relative to active cell
- Names cells
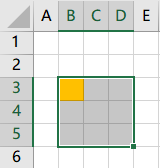
Range of cells
Specify the start and end column and row numerically.
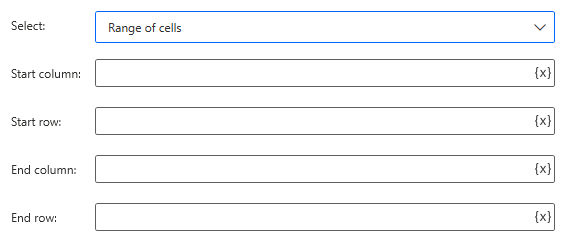
For example, specify the following.
| Parameter | Value |
|---|---|
| Start column | 2 |
| Start row | 3 |
| End culumn | 4 |
| End row | 5 |
When executed, the result is as follows.
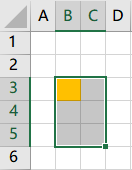
Range of cells relative to active cell
Specify how much to move from the currently active position.
Select up, down, left or right for the "X and Y-axis direction" and specify the number of cells to be moved for the "X and Y offset".
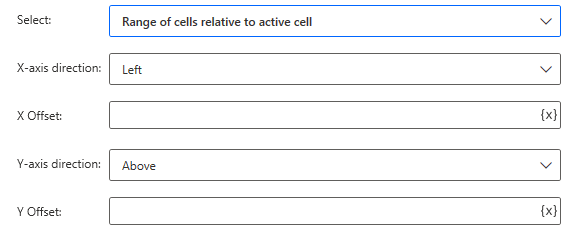
With B3 cell active, specify the following.
| Parameter | Value |
|---|---|
| X-axis direction | Right |
| X Offset | 1 |
| Y-axis direction | Bellow |
| Y Offset | 2 |
When executed, the result is as follows.
Names cells
Added in the August 2023 update.
Specified by the name of the named cell range.

Variables produces
It does not exist in this action.
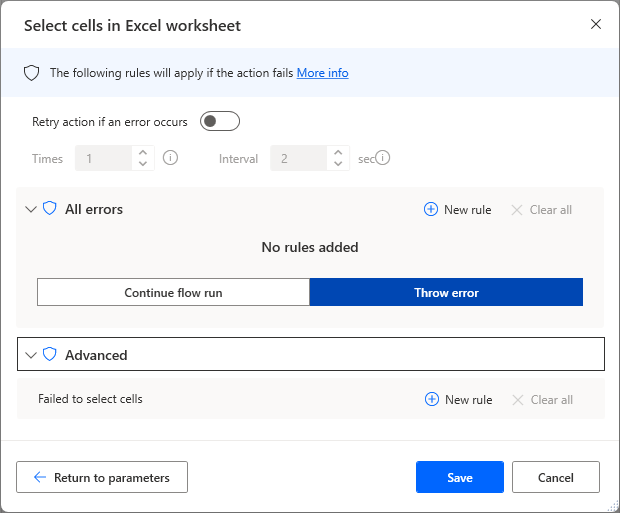
On error
Error handling is performed as needed.
If a cell is incorrectly specified or If the selection fails for any reason, an error occurs.
For those who want to learn Power Automate Desktop effectively
The information on this site is now available in an easy-to-read e-book format.
Or Kindle Unlimited (unlimited reading).

You willl discover how to about basic operations.
By the end of this book, you will be equipped with the knowledge you need to use Power Automate Desktop to streamline your workflow.