Data table(Power Automate Desktop)
This section introduces data tables (two-dimensional arrays) that handle data in tabular form.
Power Automate Desktop's Data Table is a feature for storing data in table format. Data tables allow you to easily work with data in table format, consisting of multiple rows and columns.
For example, data from an Excel file or database can be read and stored in a Power Automate Desktop data table.
Data tables are used in conjunction with various Power Automate Desktop functions such as actions and conditional branching. For example, only rows that meet certain conditions can be extracted and passed to another action.
- 1. Tool for Generate
- 2. Create
- 3. Operations on already existing data table.
- 3.1. Get item.
- 3.2. Update item.
- 3.3. Search and Replace Items.
- 3.4. Add item.
- 3.4.1. Insert row into data table action
- 3.4.2. Set variable action.
- 3.4.3. Delete row.
- 3.4.4. Delete column.
- 3.4.5. Get number of rows.
- 3.4.6. Get column names. Columns and ColumnHeadersRow.
- 3.4.7. Get number of columns.
- 3.4.8. Check if empty
- 3.4.9. Retrieve data table column into list.
- 3.4.10. Loop (For each)
- 4. For those who want to learn Power Automate Desktop effectively
- 5. Links
Tool for Generate
Generate a list/data table with the structure as entered in Excel.
Create
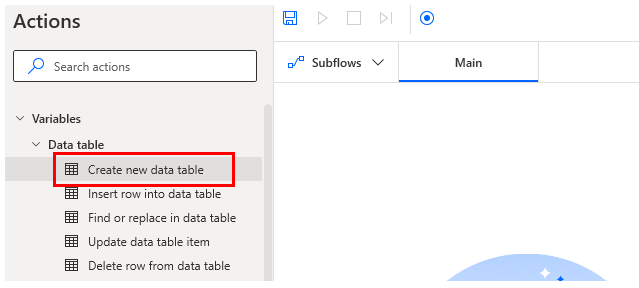
Create new data table action.
Under Variables, select Data Table and then Create new data table.
Click Edit to create the data table.
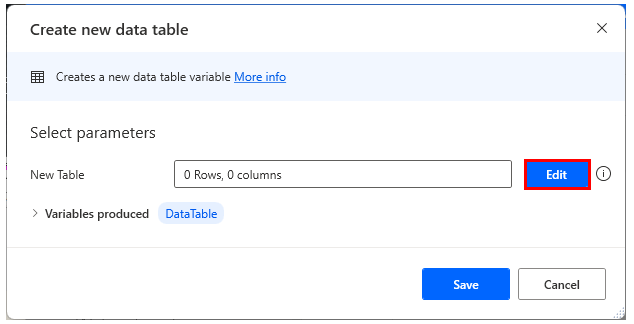
Sets initial values for data tables.
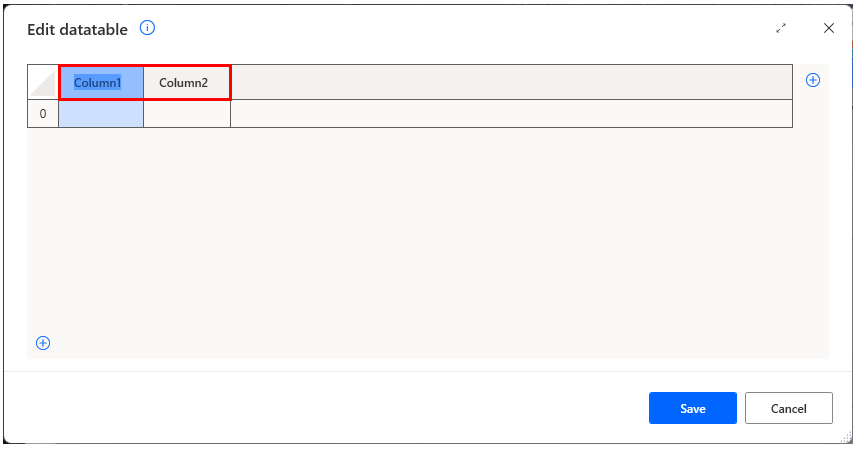
Double-click on a column name to edit the column name.
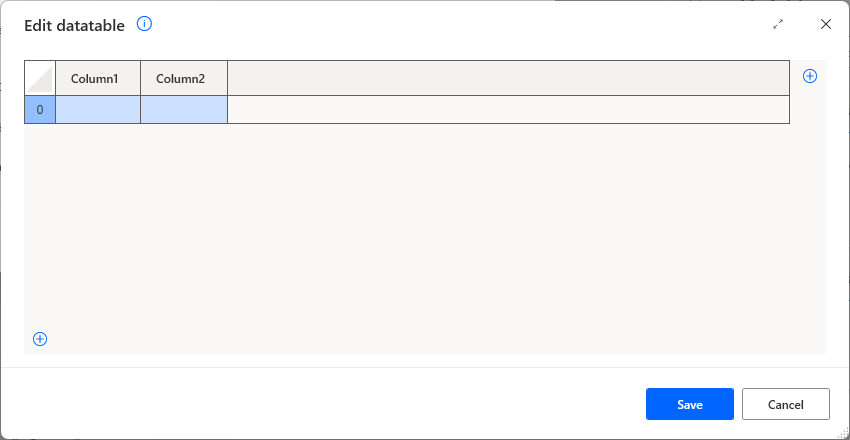
Click the "+" to the right to add columns, and the "+" at the bottom to add rows.
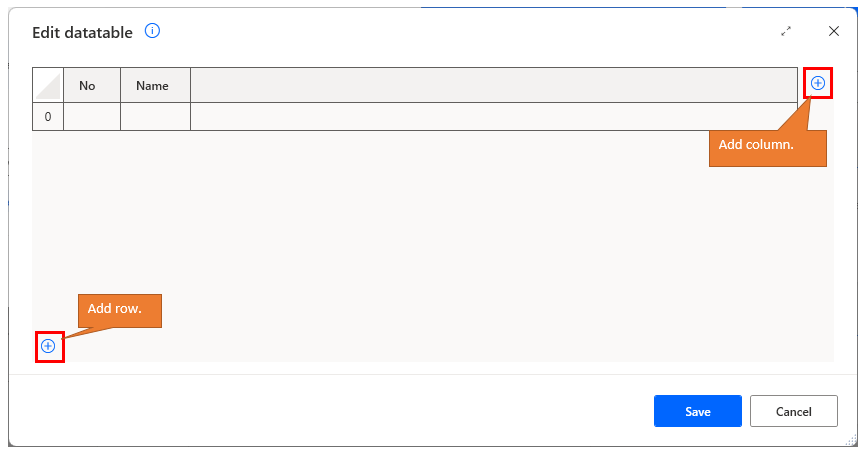
Double-clicking a cell sets the value of the item.
Clicking on {x} allows you to specify variables.
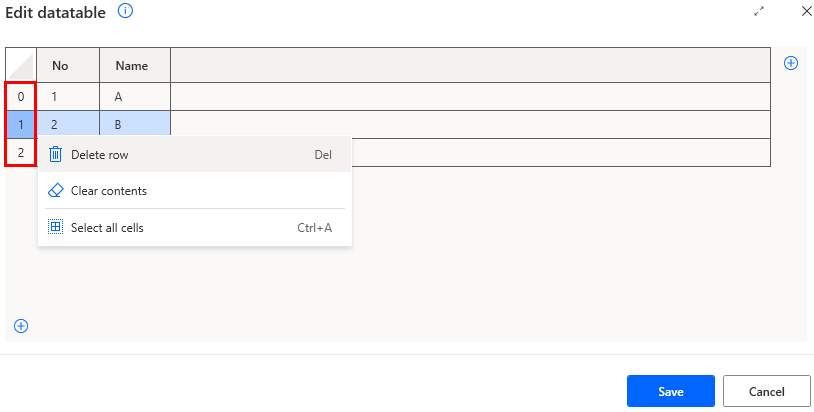
You can delete or clear values by right-clicking on the number of rows on the left.
Create data table with 0 rows.
It can be created from Excel worksheet or CSV using the following Actions.
Read from file.
Set variable action.
Depending on the table to be created, it may be more concise and less time-consuming to do it this way.
In some cases, the old flow did not have a create action, so this method of creation is still used.
If you want to make a column name a variable, you must do it this way.
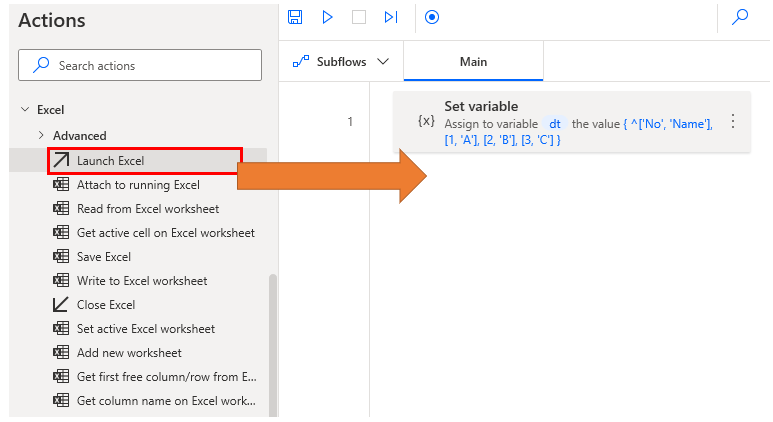
Drag Set Variables from the Variables action to the workspace.
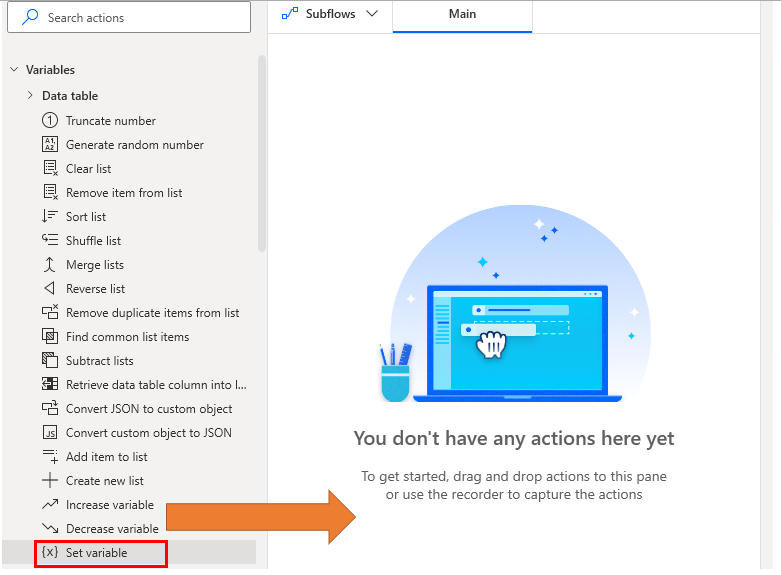
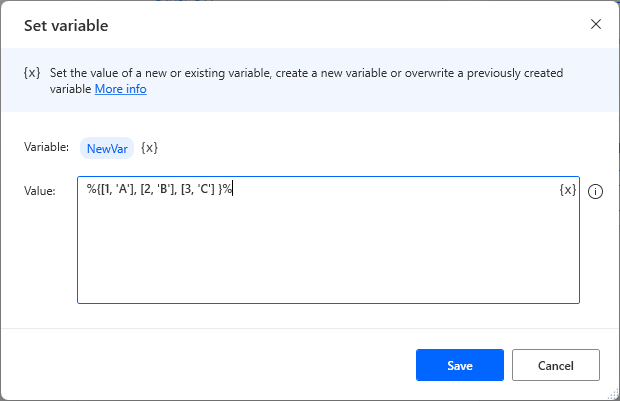
Specify the variable name in Variable and the Data table in Value.
Surround the whole with % meaning formula.
Surround the data table with {}.
Rows are enclosed in [] and separated by commas.
Columns are separated by commas.
Text is enclosed in '.
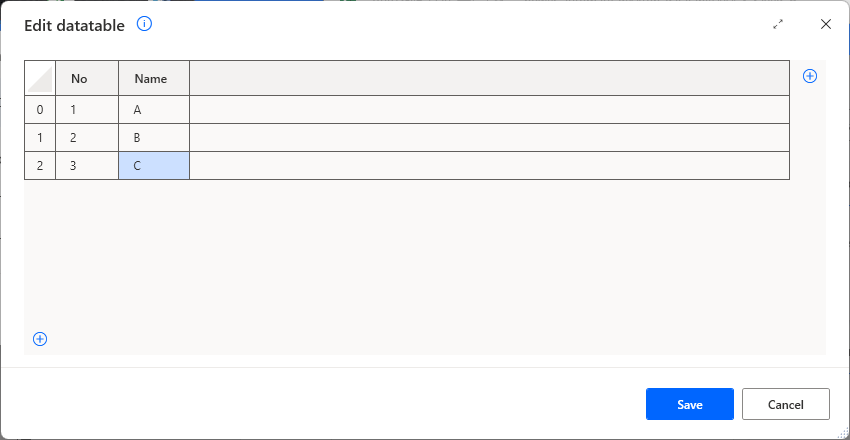
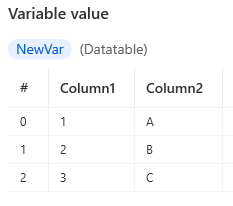
For example, the following table is specified as %{[1, 'A'], [2, 'B'], [3, 'C']}%.
| 1 | A |
| 2 | B |
| 3 | C |
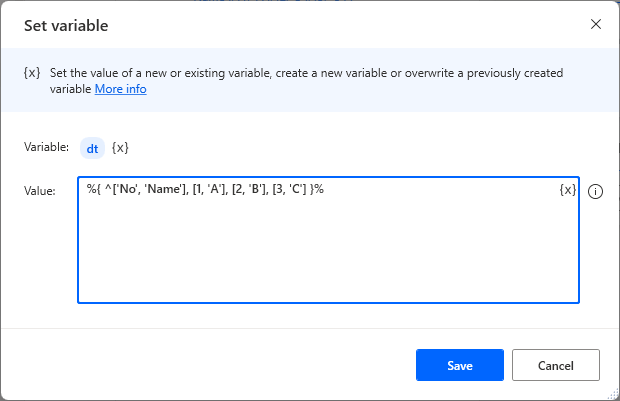
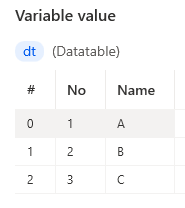
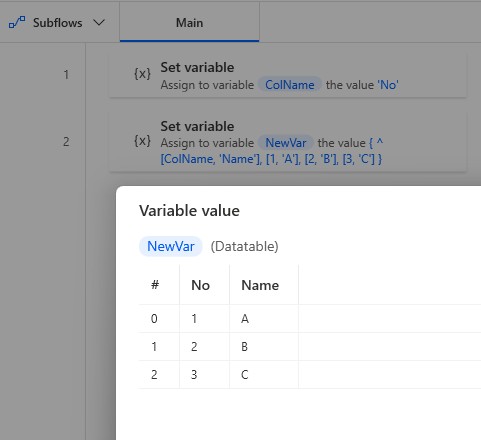
Column names are specified with ^.
Specifying only columns results in an empty (0 rows) data table.
%{ ^['No', 'Name'], [1, 'A'], [2, 'B'], [3, 'C'] }%
Variables can also be specified for column names.
Operations on already existing data table.
Get item.
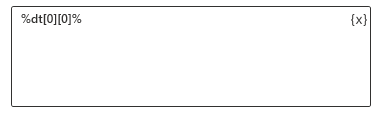
Specify %data table[row number][column number]%.
To get the first column of the first row from the data table variable dt, use %dt[0][0]%.
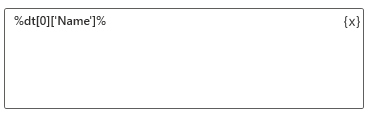
If column names are available, they can also be specified by column name.
Update item.
Use the “Update data table item” action.

Parameters
Data table
Specify the target data table.

Column / Row
Specify the target column/row by a sequential number starting from 0.
If 0 is specified for both, the first row and column are targeted.

New value
Specifies the value after updating.

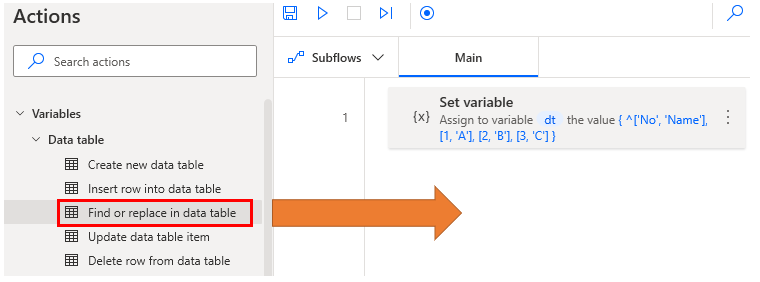
Search and Replace Items.
Drag Variables, then Find or Replace in data table from Data table onto the workspace.
Set parameters.
| Parameter | Value |
|---|---|
| Data table | Target data table. |
| Search mode | Select Find or Find and replace. |
| All matches | On: All search results Off: Only the first search result. |
| Text to find | Text to look for. In the case of a Find and replace, the text before the change. |
| Find using a regular exepression | When turned on, searches are performed using regular expressions. Regular expressions allow for searches such as numeric only or forward matching. |
| Match case | Turn on to make alphabetic characters case-sensitive. Cannot be specified when using regular expressions. |
| Match entire cell contents | If on, partial match is used; if off, full match is used. Cannot be specified when using regular expressions. |
| Text to replace with | Specifies the text after the change. Specify only when the search mode is Find and replace. |
| Search by | Everywhere: All columns are subject to search/replace. On column: Specify columns to search/replace by index or column name |
| Column index or name | Specified only when the search condition is a column. Specifies the search/replace target. |
Add item.
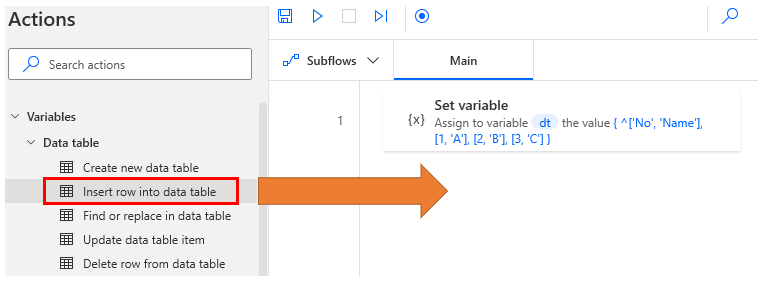
Insert row into data table action
Drag the Insert Row into data Table action onto the workspace.
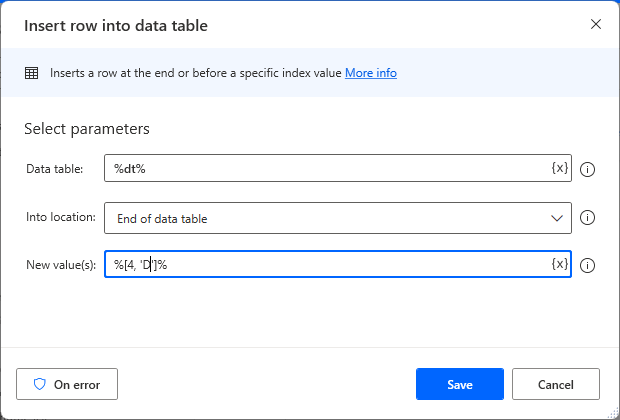
Set parameters.
| Parameter | Value |
|---|---|
| Data table | Target data table. |
| Into location | Before row index: Add before the specified line. End of data table: Next to last line. |
| New value(s) | Specify the line to be added. Example: %[4, 'D']% |
Set variable action.
This method only allows additions at the end (not at the beginning).
We do not recommend using this method, but it was implemented prior to the Insert row into data table action. Therefore, it may remain in past flows.
| Parameter | Value |
|---|---|
| Variable | Target data table. |
| Value | %Target data table + Row to add% |

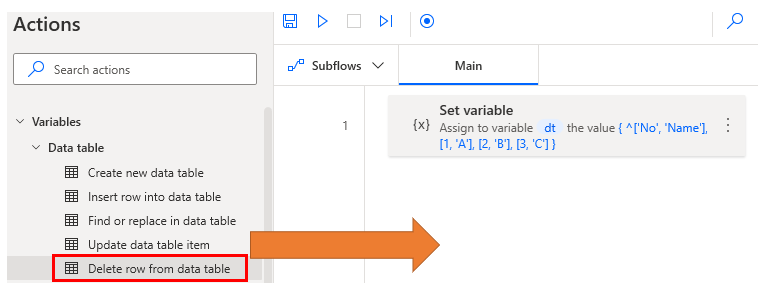
Delete row.
Drag Delete row from data table onto the workspace.
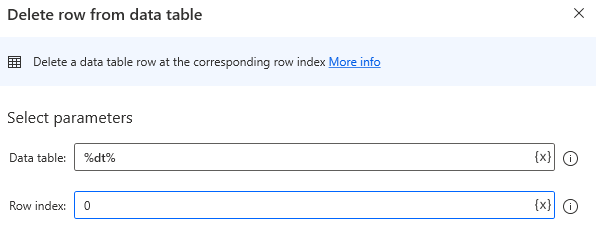
Set parameters.
| Parameter | Value |
|---|---|
| Data table | Target data table. |
| Row index | Specifies the number of rows to be deleted. The first line is 0. |
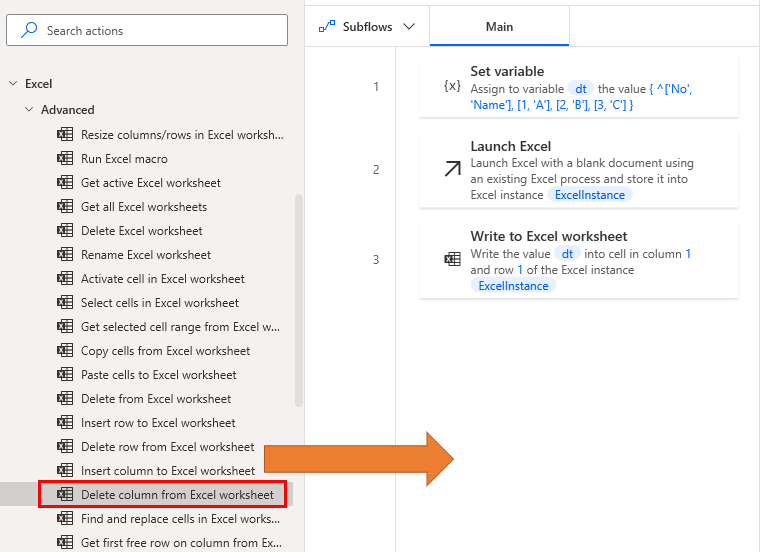
Delete column.
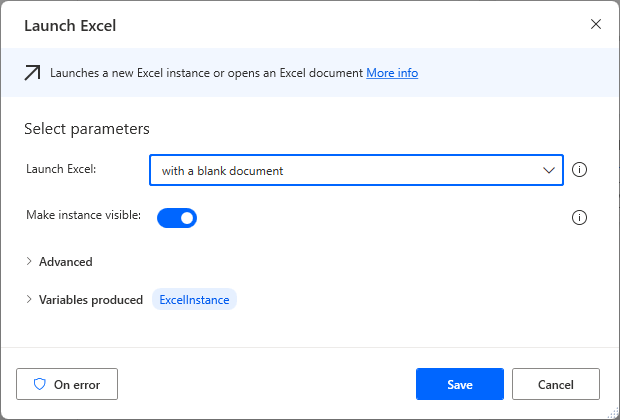
Drag the Launch Excel Action to the worksheet and select with blank document.
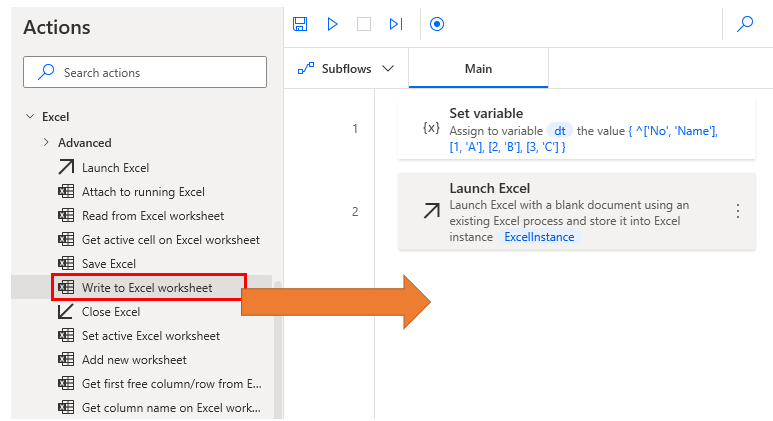
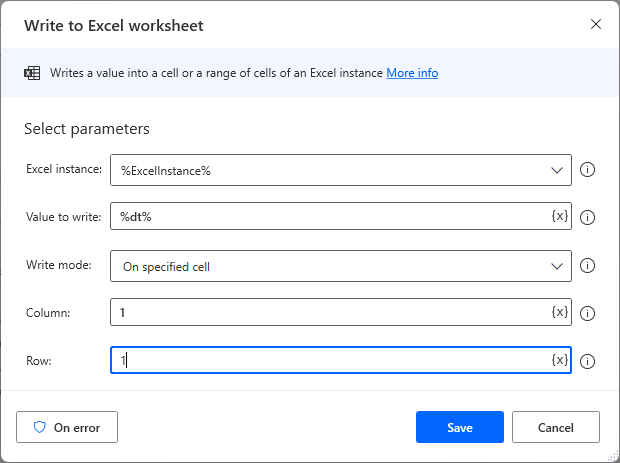
Drag the Write to Excel worksheet action to the workspace and write the contents of the data table in cell A1.
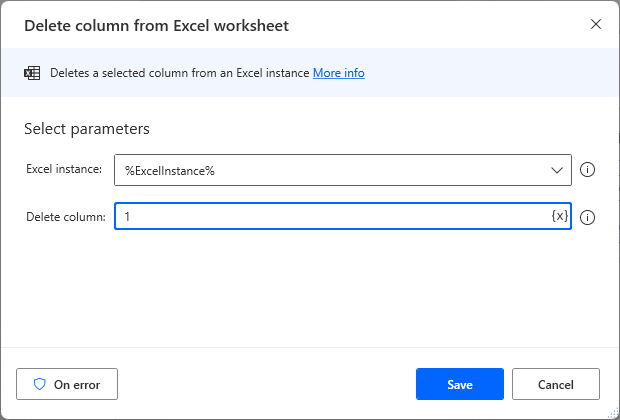
Drag Delete column from Excel worksheet Action onto the workspace to specify the columns to be deleted.
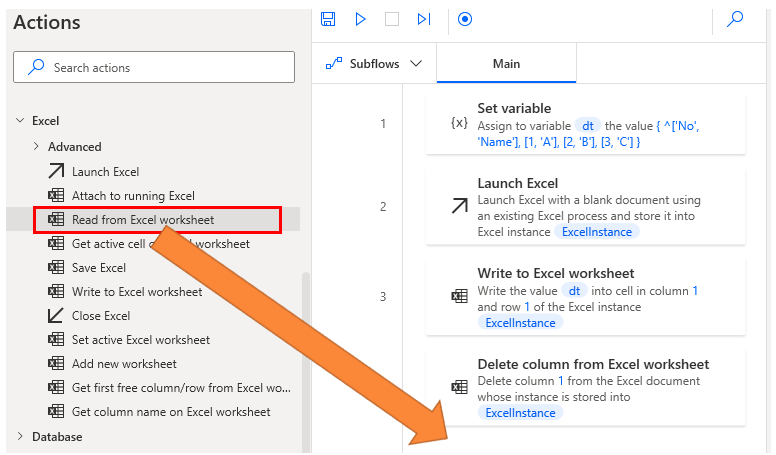
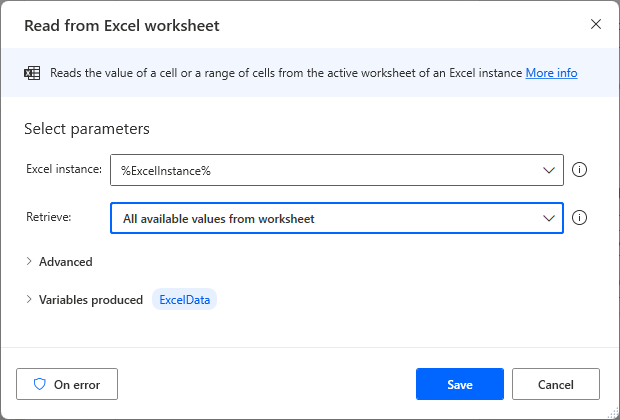
Drag Read from Excel worksheet Action onto the workspace and Select All available values from worksheet.
The data table from which the columns were deleted is set to ExcelData in the Variables produced.
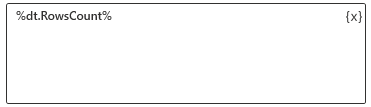
Get number of rows.
Get the number of rows with RowsCount.
%Data table.RowsCount%
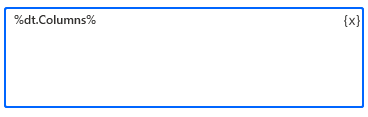
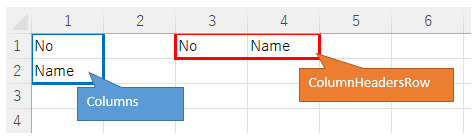
Get column names. Columns and ColumnHeadersRow.
Columns obtains a list of column names in List format.
%Data table.Columns%
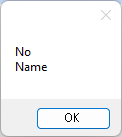
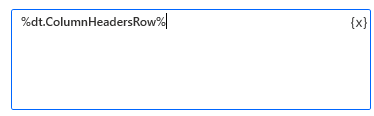
ColumnHeadersRow to get a list of column names in the form of data rows.
%Data table.ColumnHeadersRow%
Columns and ColumnHeadersRow behave similarly.
When looping with For Each, both loop over the number of columns and can be added as data rows to another data table.
The behavior is different when used to Write to Excel worksheet with Columns, the data is written vertically (columns), whereas with ColumnHeadersRow, the data is written horizontally (rows).
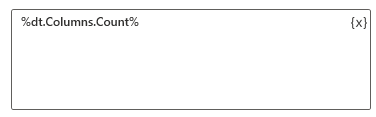
Get number of columns.
Get the number of columns with Columns.Count.
%Data table.Columns.Count%
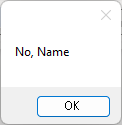
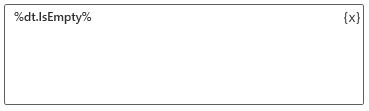
Check if empty
Check the data table with IsEmpty.
%Data table.IsEmpty%
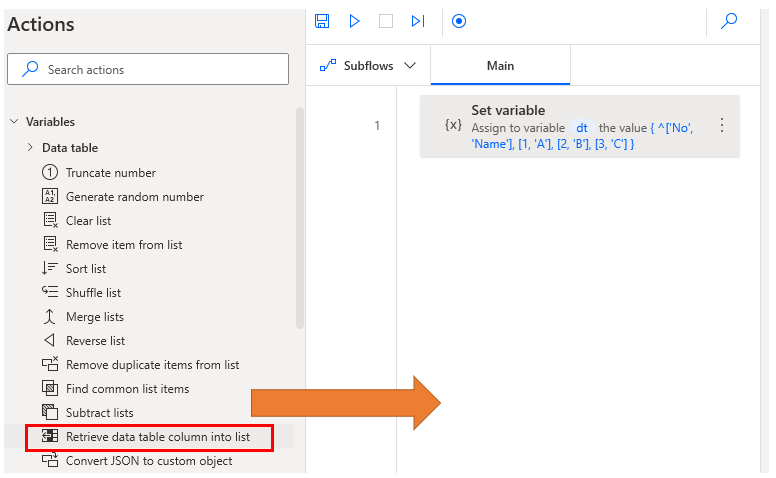
Retrieve data table column into list.
Drag Retrieve data table column into list action from Variables onto the workspace.
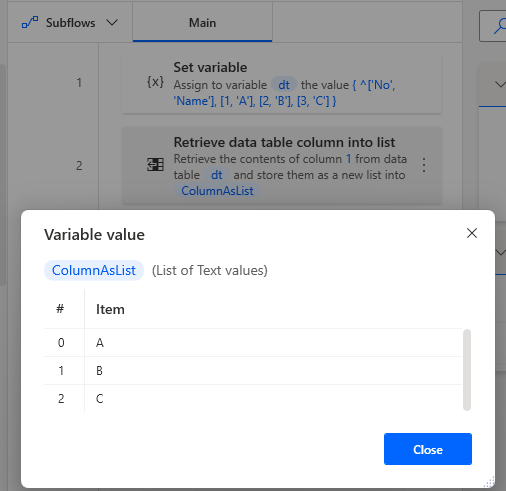
Specify the data table variable in Data Table and the column to retrieve in Column Name or Index.
The beginning of the column is 0.

If you do not change the name of the variables produced, the acquisition column will be set to ColumnAsList.
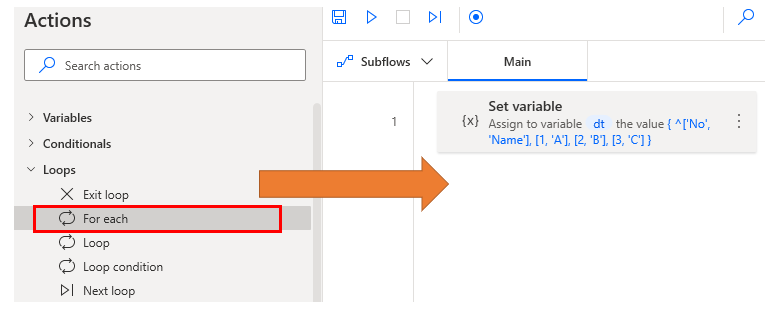
Loop (For each)
Drag For each onto the workspace and
Specify a data table variable in the Value to iterate field.
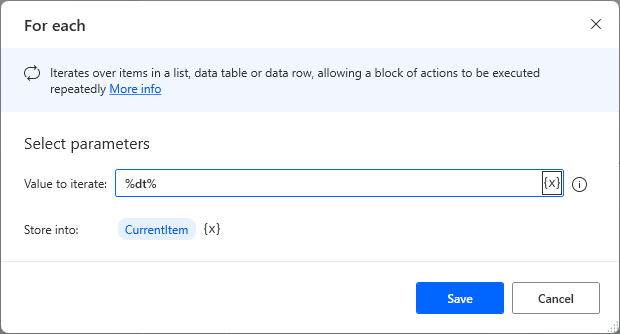
If you do not change the name of the Store into, CurrentItem will contain the row of data.
Specifying %CurrentItem[column number]% will retrieve the value of that row.
For those who want to learn Power Automate Desktop effectively
The information on this site is now available in an easy-to-read e-book format.
Or Kindle Unlimited (unlimited reading).

You willl discover how to about basic operations.
By the end of this book, you will be equipped with the knowledge you need to use Power Automate Desktop to streamline your workflow.