Sending and receiving Gmail(Power Automate Desktop)
Learn how to send and receive Gmail from Power Automate Desktop.
Procedure
Preparation
Go to "Security" in your Google account and click on "2-Step Verification".
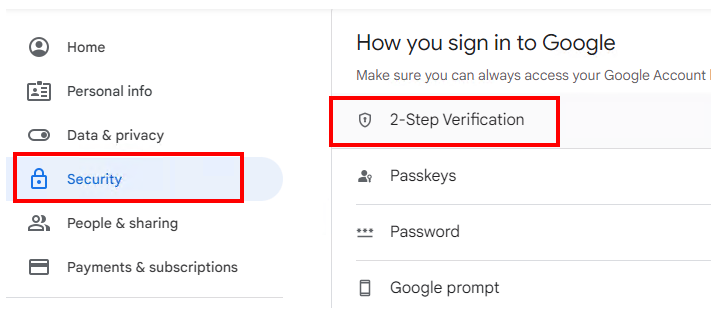
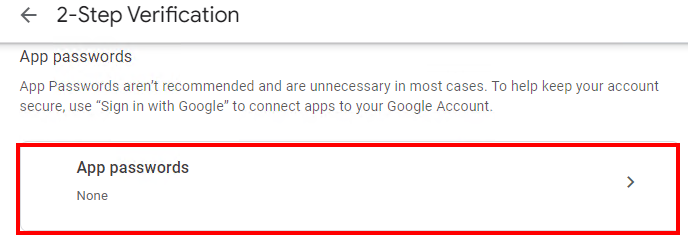
Click on "App passwords" at the bottom.
Specify "Mail" as the app and "Windows computer" as the device.
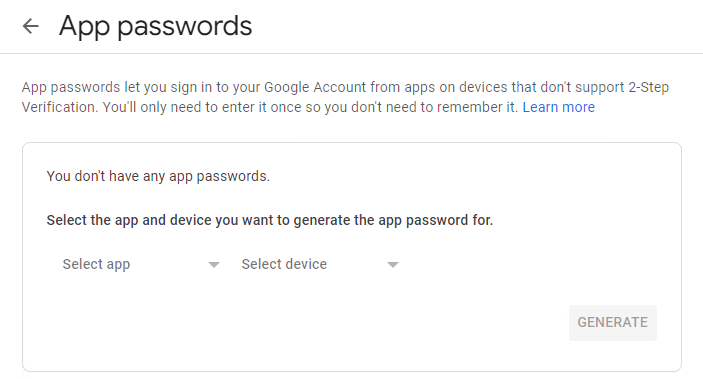
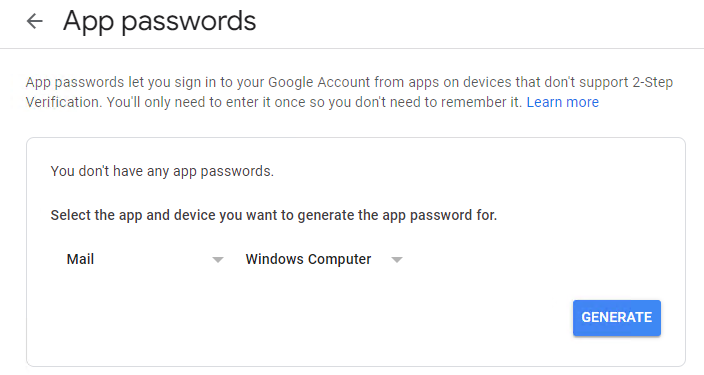
Click the Generate button to generate an app password.
This app password will be used in the action.
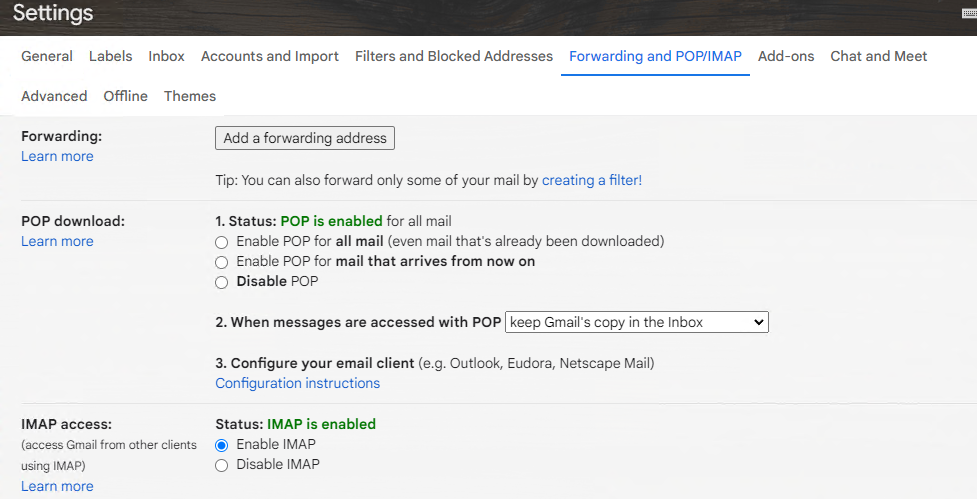
If you also want to receive email, you will also need to configure the following settings
In Gmail settings, select "Enable IMAP" under "Forwarding and POP/IMAP".
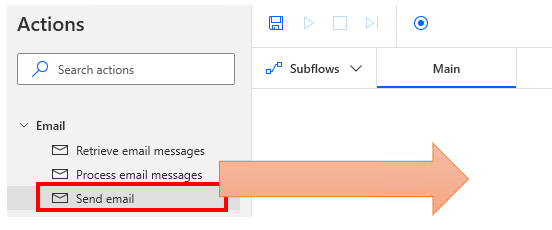
Send mail
Drag "Send email" from "Email" under "Actions".
Set parameters.
| Parameter | Value.Please change the text color red by yourself. |
|---|---|
| SMPT Server | smtp.gmail.com |
| Server Port | 465 |
| Enable SSL | ON |
| SMPT Server needs authentication | ON |
| User name | Gmail email address |
| Password | App password |
Once other necessary information is set, the e-mail can be sent.
Retrieve mail
Drag "Retrieve email messages" from "Email" under "Actions".

Set parameters.
| Parameter | Value.Please change the text color red by yourself. |
|---|---|
| IMAP Server | imap.gmail.com |
| Port | 993 |
| Enable SSL | ON |
| User name | Gmail email address |
| Password | App password |
Specify any mail condition to be retrieved to the mail filter.
Next, set up "For Each" and specify "RetrievedEmails".
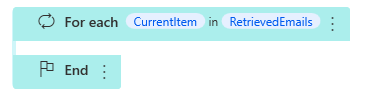
This will repeat all emails.
CurrentItem is an email message variable.
In the loop, %CurrentItem.Body% to retrieve the body of the message and %CurrentItem.From% to retrieve the source address.
For those who want to learn Power Automate Desktop effectively
The information on this site is now available in an easy-to-read e-book format.
Or Kindle Unlimited (unlimited reading).

You willl discover how to about basic operations.
By the end of this book, you will be equipped with the knowledge you need to use Power Automate Desktop to streamline your workflow.