Easy flow create and execute.(Power Automate Desktop)
This article will show you how to create and execute a simple flow that only displays a message box.
steps to create and execute a simple flow.
A flow is a single automated tool.This can be viewed as a file.
Steps
Create Flow
To create a flow, first click on "New Flow".

Specify a flow name and click "Create".
(In this case, the flow name is "Message Display".)

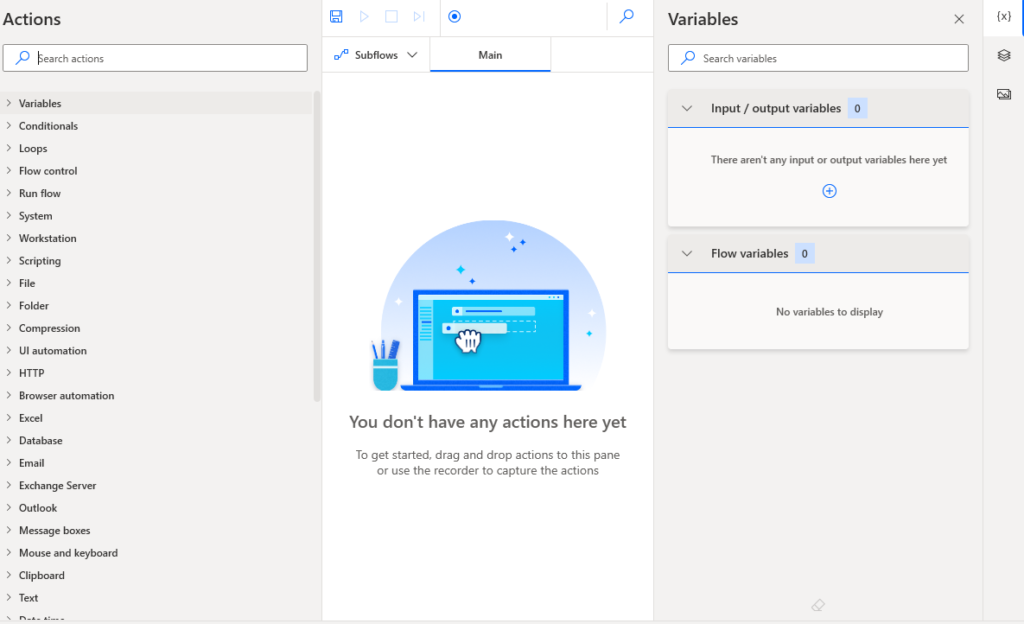
A window for creating flows will appear.
This is where you set up the automation procedures (actions).

Drag Display message Action from Actions and Message Boxes onto the workspace.

A screen for specifying the contents of the message box will appear. Enter any string of text in the "Message box title" and "Message to be display" fields.

Hover the mouse over the ⓘ symbol in this window for help on that item.

After completing the settings, click the "Save" button at the bottom of the window.
The message box setup window is closed,
A Display message block will be created in the original flow creation window.
Double-click this block to open the edit window again and change the contents.

Click "…" on the right to display the menu.

From this menu, you can call up the edit window or delete an action.

Flow Activation (Confirmation of Operation)
The creation flow is started by clicking ▷.


In this way, the flow is created by repeatedly installing and launching (testing and confirming operation) actions.
Saved flows can also be launched from the first screen.
When you want to use the completed flow in practice, you will launch it from here.

For those who want to learn Power Automate Desktop effectively
The information on this site is now available in an easy-to-read e-book format.
Or Kindle Unlimited (unlimited reading).

You willl discover how to about basic operations.
By the end of this book, you will be equipped with the knowledge you need to use Power Automate Desktop to streamline your workflow.
Discussion
New Comments
No comments yet. Be the first one!