


This is a method to use ChatGPT from Excel using Power Automate (Cloudflow).
Unlike the How to use VBA/macros, this method can be used from Excel Online or from your desktop, but you must save the Excel file to SharePoint or OneDrive.

Steps
Add-in install.
You need to install the add-in in the one you want to use ChatGPT in Application (Desktop) or Online (Web). If you want to use ChatGPT on both, install the add-in on both. The procedure is the same for both.
First, select Get Add-ins from Insert in the Excel menu.


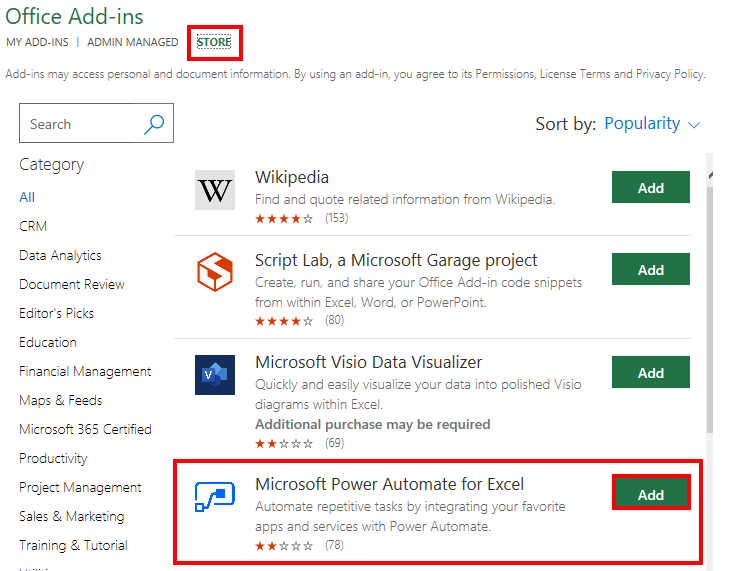
From Store select Add for Microsoft Power Automate for Excel.
(It's about the fourth one from the top)

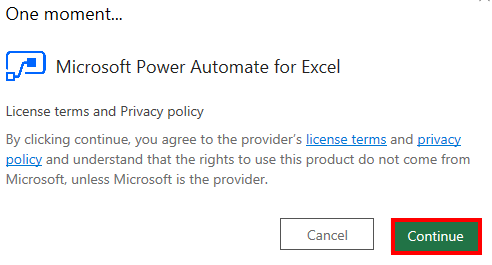
Select Continue. Once this is done, the add-in installation is complete.

Create
Excel Book
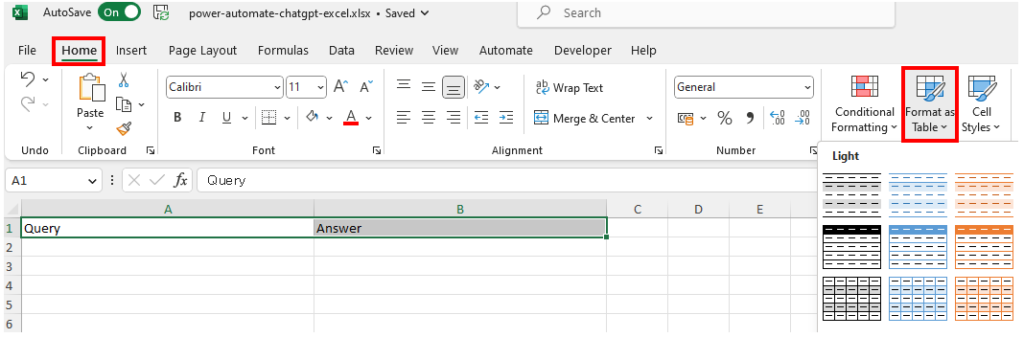
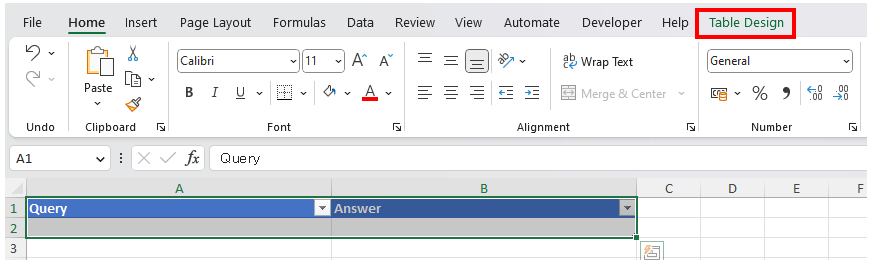
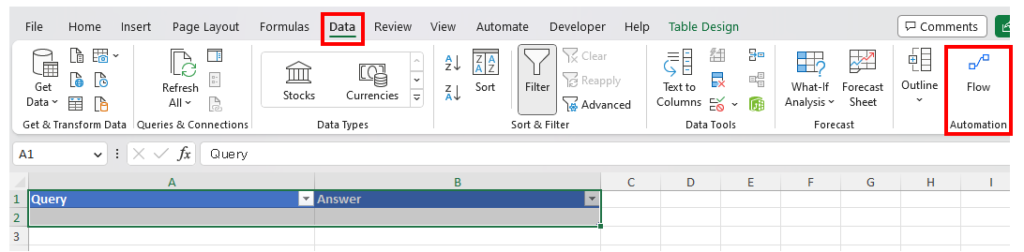
Create a Table with columns named Query and Answer.
To do this, create a new Excel file, select the cells with the values Query and Answer, and click on Home, then Format as Table. Then select the formatting.

Check My table has headers and click the OK button.

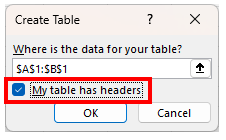
If the format of a cell range changes and Table Design appears when you select a cell in that range, it has been made into a table.

Save this Excel file to SharePoint or OneDrive.
Power Automate Cloud flow
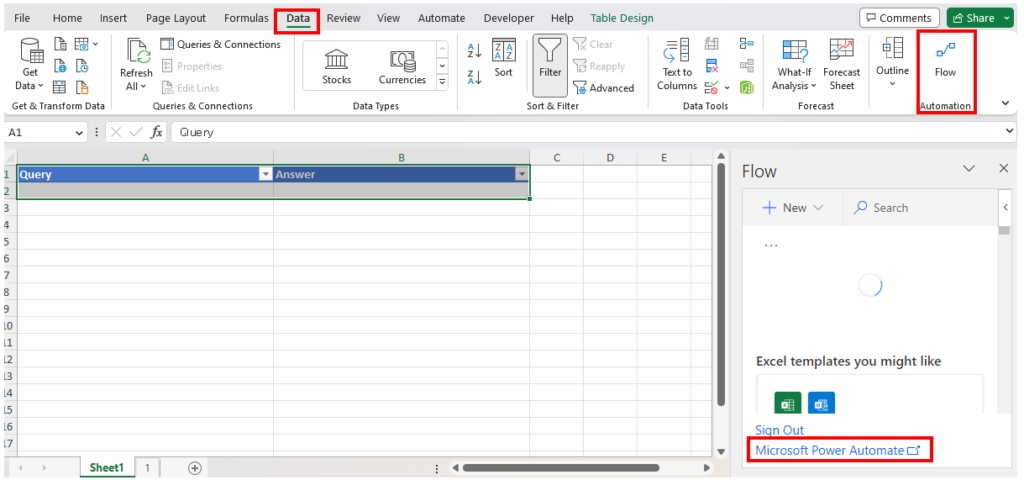
Go to the Power Automate administration page in your browser or click on Data, Flow, Microsoft Power Automate.

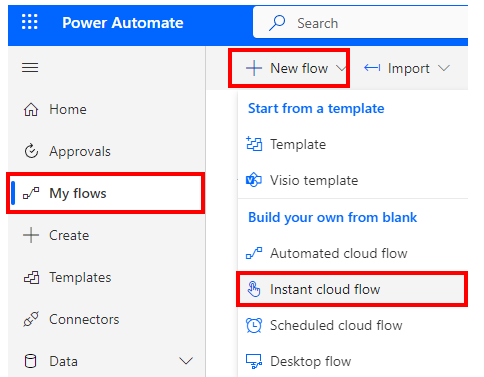
Click on My Flows,New Flow,Instant Cloud Flow.

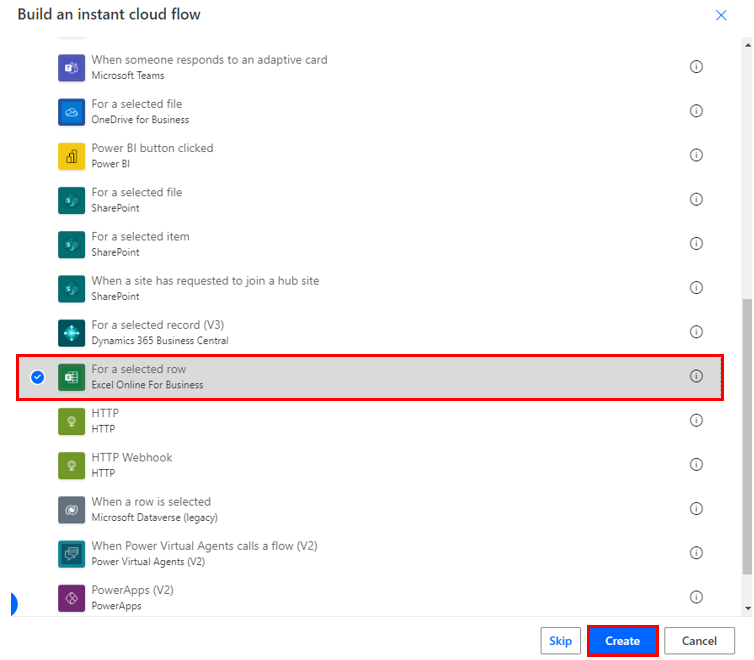
Click on For a selected Row and then click on the Create button.

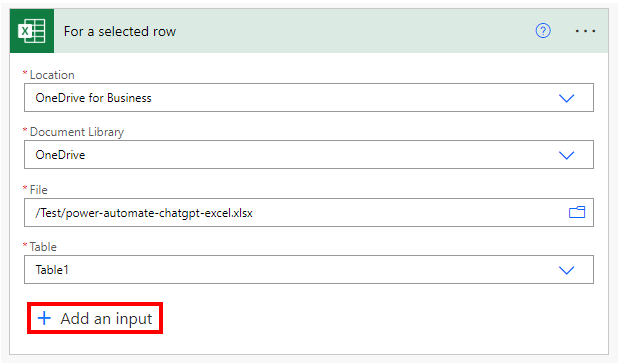
In For a selected row enter the information from the Excel file you just saved. The table name will be Table1 if it has not been changed.
After entering the Excel file information, click Add an input.

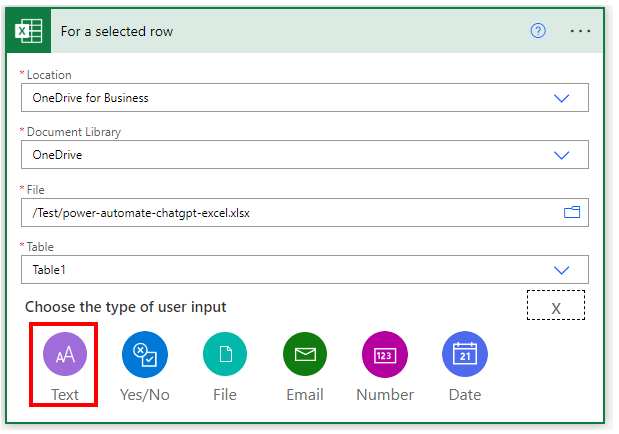
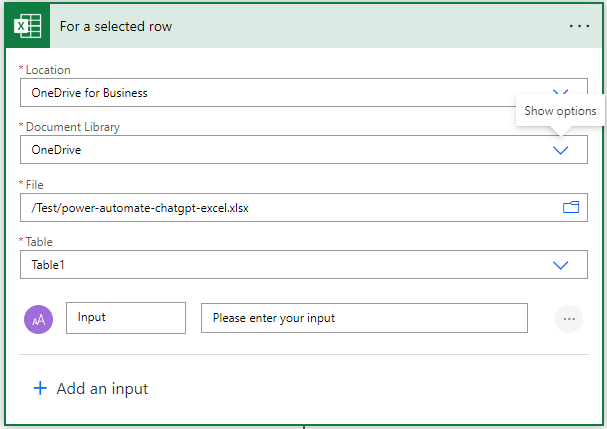
Click on Text.


Get the ChatGPT API key (secret key).
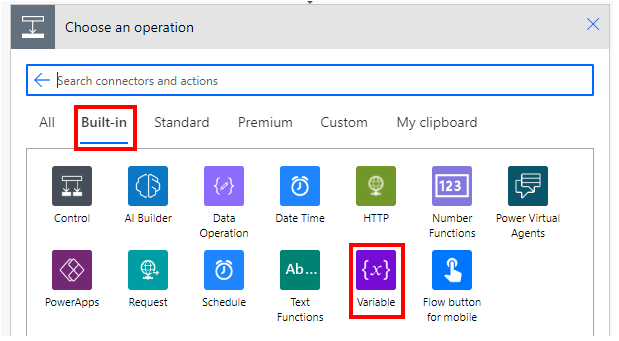
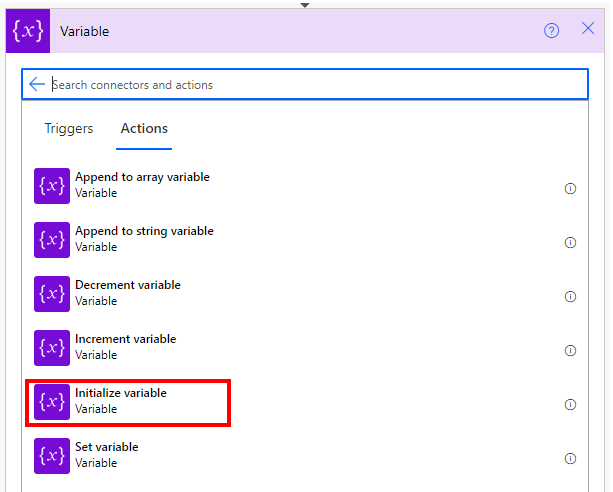
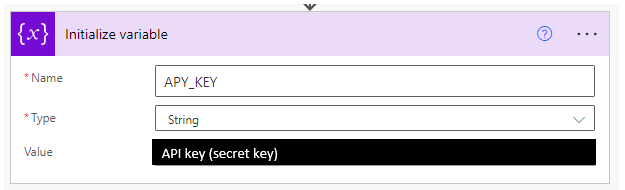
Then add a new step and place a Initialize Variable Action.


Specify APY_KEY for Name, String for Type, and API key for Value.

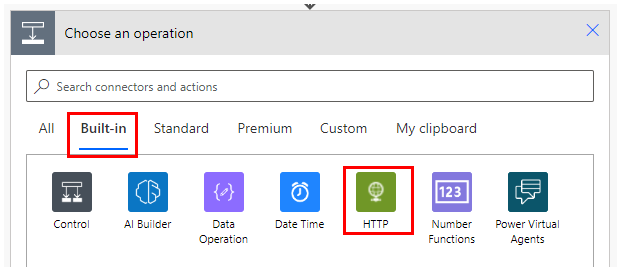
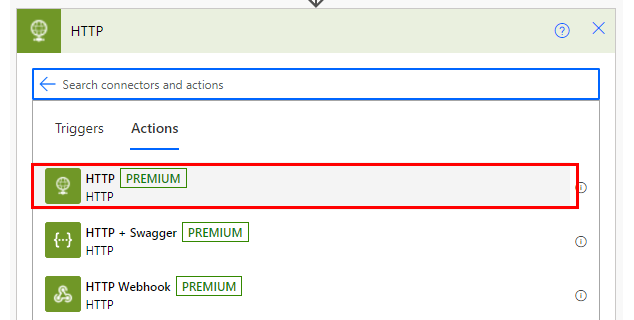
Set up an HTTP Action.


Set up as follows.
| Parameter | Value |
|---|---|
| Method | POST |
| URI | https://api.openai.com/v1/completions |
| Header, line 1, left | Content-Type |
| Header, line 1, right | application/json |
| Header, line 2, left | Authorization |
| Header, line 2, right | Bearer @{variables('APY_KEY')} |
| Body | { "model": "text-davinci-003", "prompt": @{triggerBody()['text']}, "max_tokens": 2024, "temperature": 0, "top_p": 1 } |


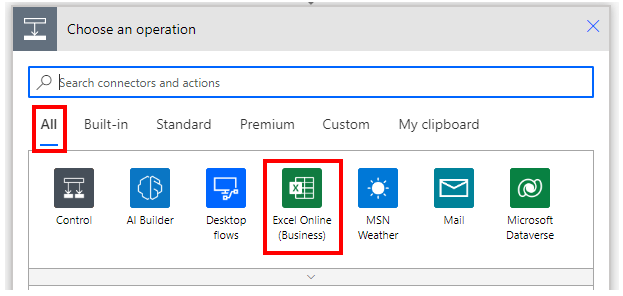
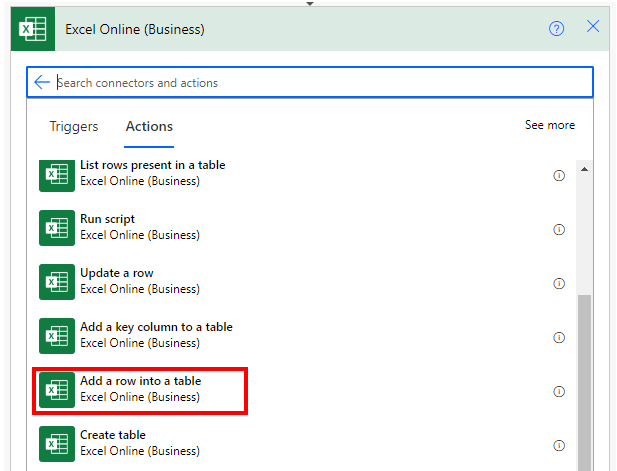
Add a new step and place an Add a row into a table Action.


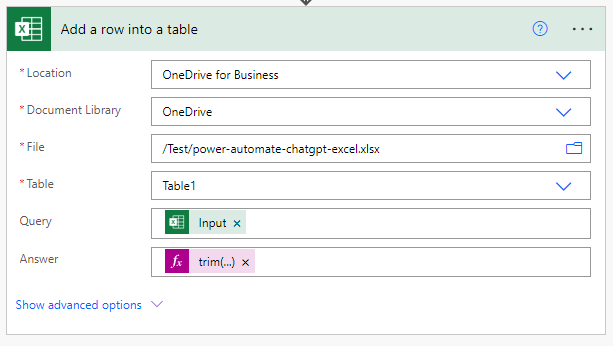
Set up as follows.
| Parameter | Value |
|---|---|
| Location/Document Library/File/Table | Same For a selected row Trigger |
| query | @{triggerBody()['text']} |
| answer | Specify the expression below. trim(body('HTTP')?['choices'][0]?['text']) 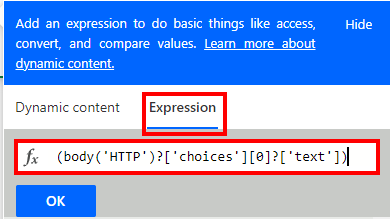 |


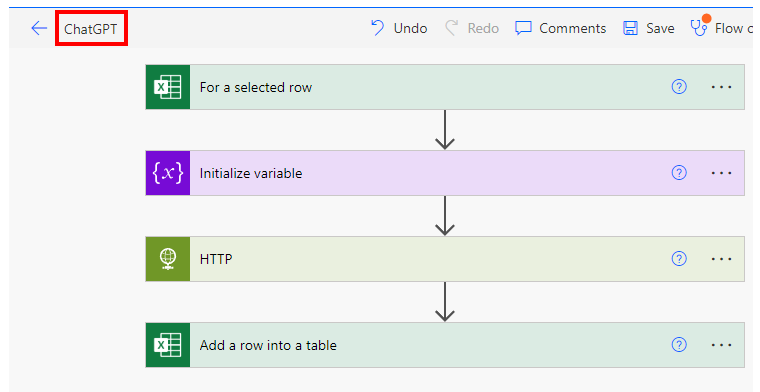
When you have completed setting up the flow, save it.
Then click in the upper left corner to change the flow name. This flow name will appear in Excel.

Use
Open an Excel book, select any of the cell ranges in the table, and click on Flow under Data.

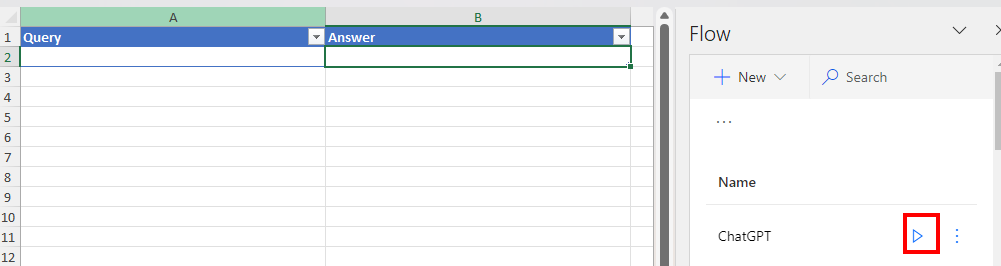
Click the Execute button for the flow name. This Execute button can only be clicked when a range of cells in the table is selected.

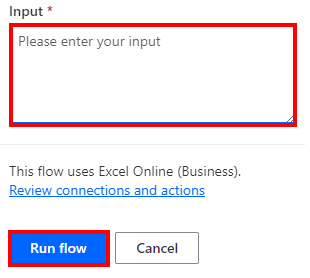
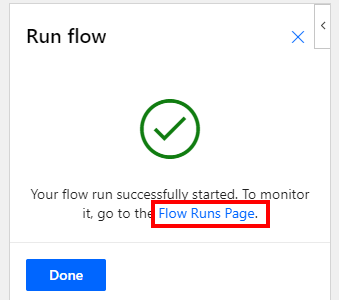
When the Input field appears, enter your message to ChatGPT and click the Run Flow button.

A query to ChatGPT will begin. You can check the status by clicking on Flow Runs Page.

When a response is received from ChatGPT, a row with the Query and Answer is added to the Table.


This query and answer will be added line by line.


---